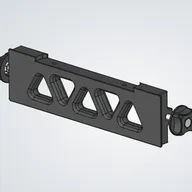
The Stand Assembly

Stand Knob (x8)

PartQty
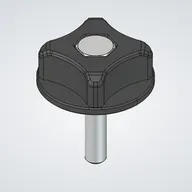
Stand knob1Stand knob thumbnail
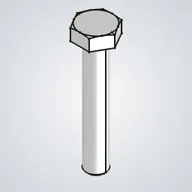
M6x35 hex head screw1M6x35 hex head screw thumbnail
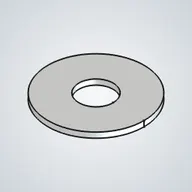
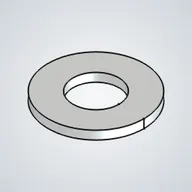
M6 washer 18mm wide1M6 washer 18mm wide thumbnail
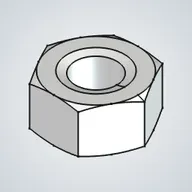
M6 nut1M6 nut thumbnail
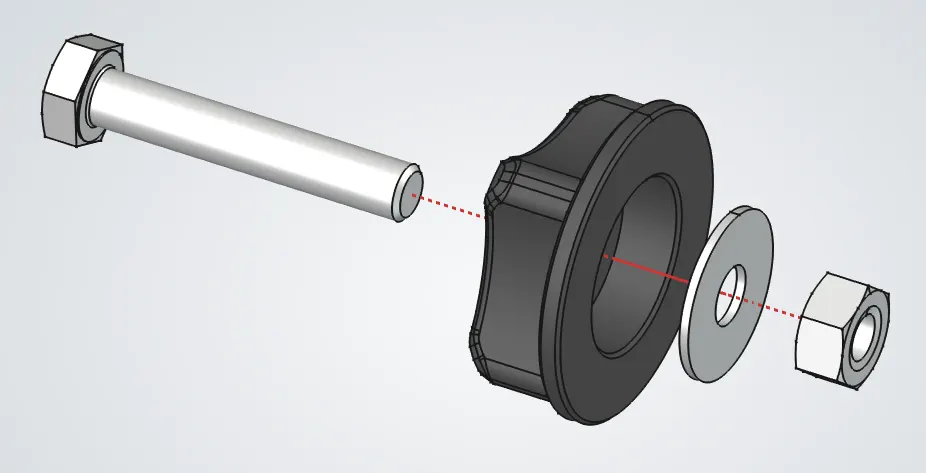
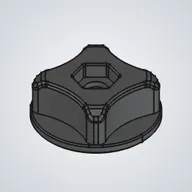
Stand Knob (x8) assembly
  1. 1.Insert the screw into the knob.
  2. 2.From the other side, add the 18mm washer and thread the nut onto the screw.
  3. 3.Spin the nut down to the bottom, then use the printed wrench to tighten it.

Stand Anchor (x2)

PartQty
Stand anchor1Stand anchor thumbnail
Stand knob assembly2Stand knob assembly thumbnail
M6 nut2M6 nut thumbnail
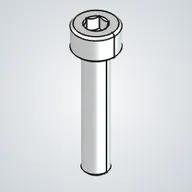
M4x20 socket head screw2M4x20 socket head screw thumbnail
M4 washer4M4 washer thumbnail
1Stand Anchor (x2) assembly
2Stand Anchor (x2) assembly
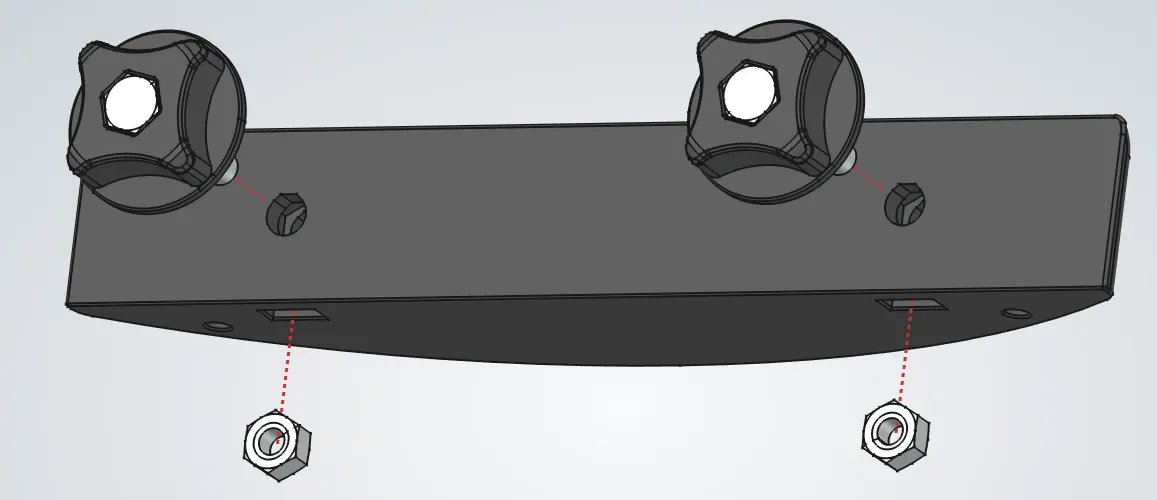
  1. 1.a.Insert the two nuts into their slots.
    b.Thread the knobs into the nuts, leaving about 1 cm of space from the anchor itself.
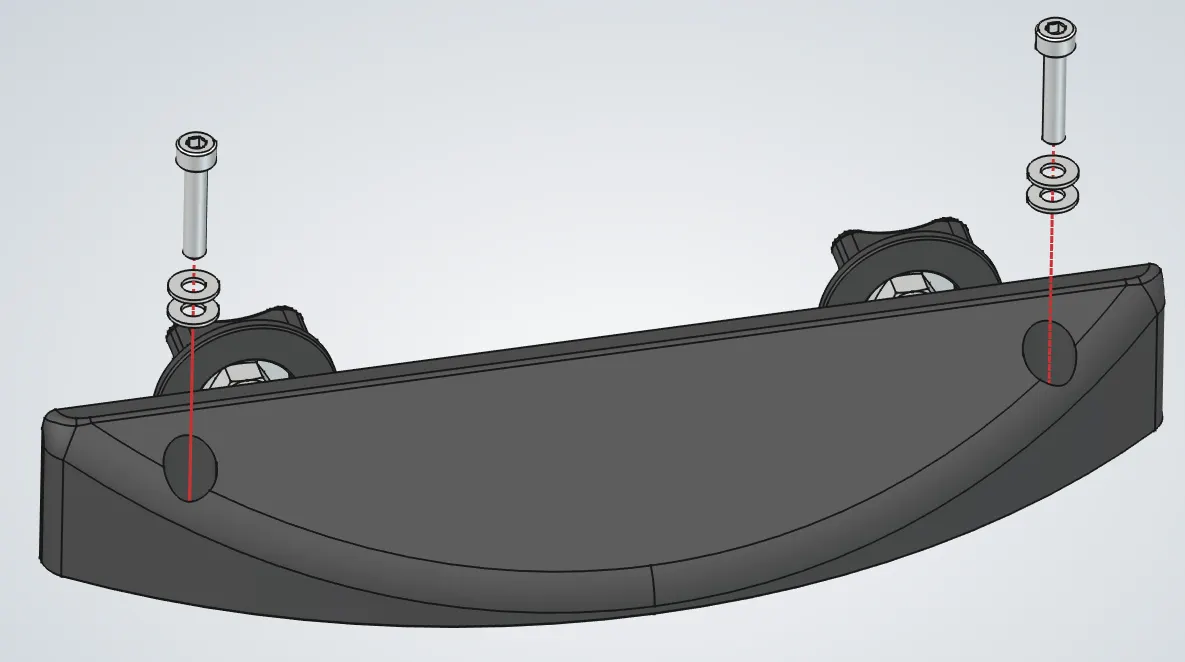
  2. 2.Place each M4 screw through two M4 washers and into position. These will attach the anchor to the base later.

Stand Feet (x3)

PartQty
Stand feet1Stand feet thumbnail
M4 nut1M4 nut thumbnail
Felt tape piece1Felt tape piece thumbnail
Stand Feet (x3) assembly
  1. 1.Insert the M4 nut into the side pocket of the foot.
  2. 2.Take a piece of felt tape and stick it onto the flat bottom face.
  3. 3.Repeat for the two other feet.

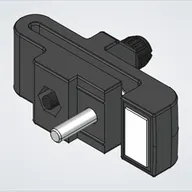
Stand Azimuth Clutch

PartQty
M4 nut1M4 nut thumbnail
M4x30 thumbscrew1M4x30 thumbscrew thumbnail
PTFE piece1PTFE piece thumbnail
M4x20 socket head screw1M4x20 socket head screw thumbnail
Stand azimuth clutch1Stand azimuth clutch thumbnail
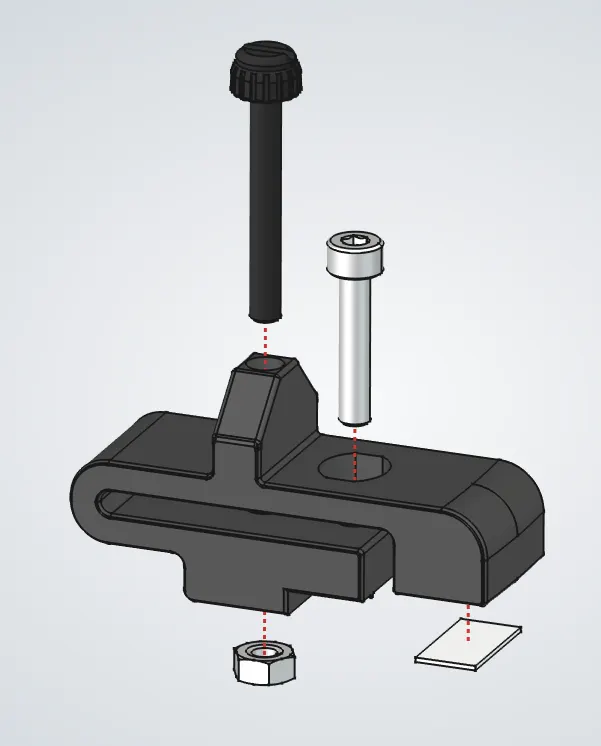
Stand Azimuth Clutch assembly
  1. 1.Insert the M4 nut into the underside pocket.
  2. 2.Thread the thumbscrew through the raised part and into the nut.
  3. 3.Install the screw through the round hole in the top of the clutch.
  4. 4.Cut a 1.5 cm by 0.8 cm piece from the PTFE sheet, peel off the backing, and stick it onto the flat contact face.

Stand Base

PartQty
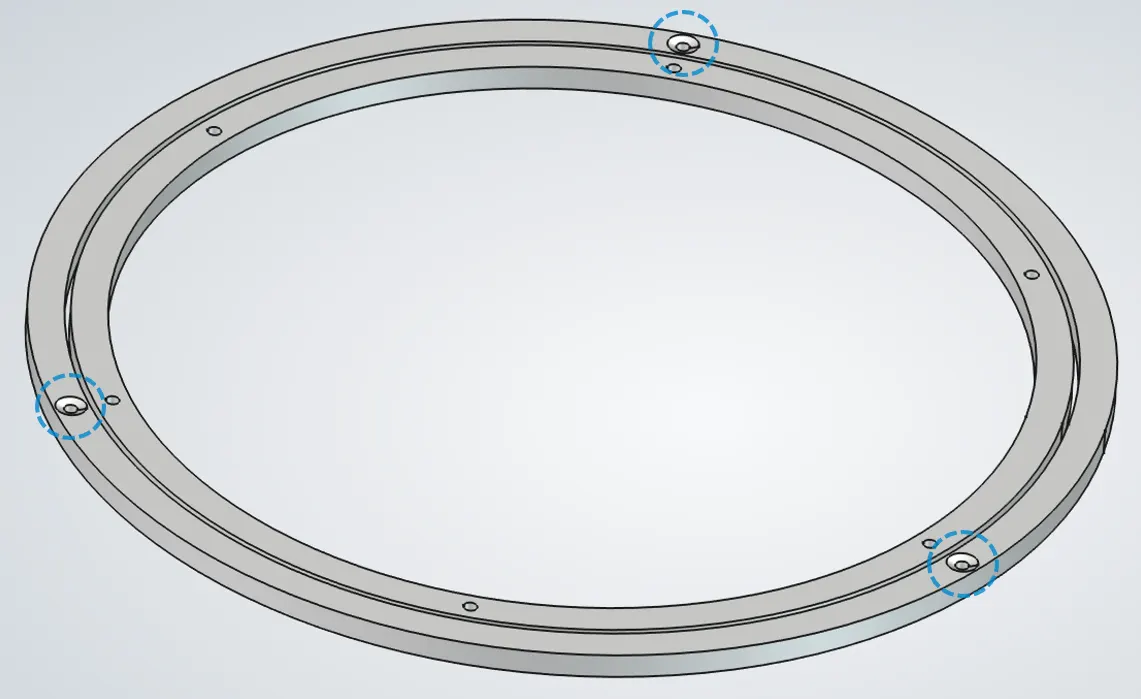
Base bearing1Base bearing thumbnail
M4x20 cone head screw3M4x20 cone head screw thumbnail
Stand anchor assembly2Stand anchor assembly thumbnail
M4 nut5M4 nut thumbnail
Stand azimuth clutch assembly1Stand azimuth clutch assembly thumbnail
Stand feet assembly3Stand feet assembly thumbnail
PartQty
Base bearing1Base bearing thumbnail
M4x20 cone head screw3M4x20 cone head screw thumbnail
Stand anchor assembly2Stand anchor assembly thumbnail
PartQty
M4 nut5M4 nut thumbnail
Stand azimuth clutch assembly1Stand azimuth clutch assembly thumbnail
Stand feet assembly3Stand feet assembly thumbnail
1Stand Base assembly
2Stand Base assembly
3Stand Base assembly
4Stand Base assembly
  1. 1.Place the base bearing with the countersunk holes of the outer ring facing up.
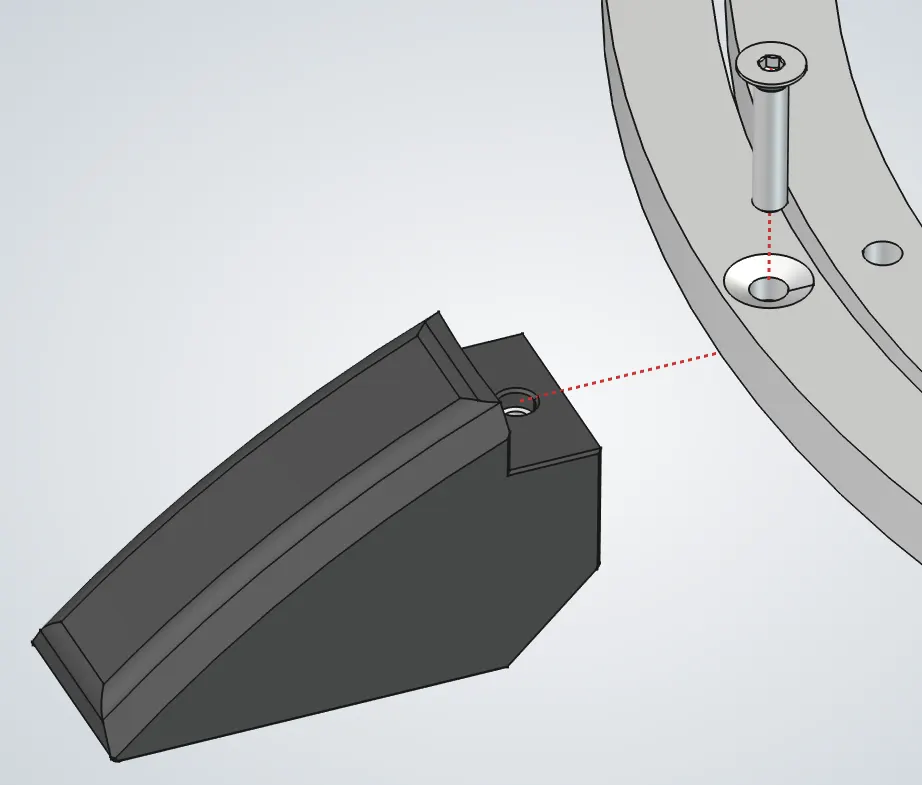
  2. 2.a.For each foot, place it under a matching hole and insert the screw from above.
    b.Press the foot fully into the base bearing, then tighten the screw with the 2.5mm hex key.
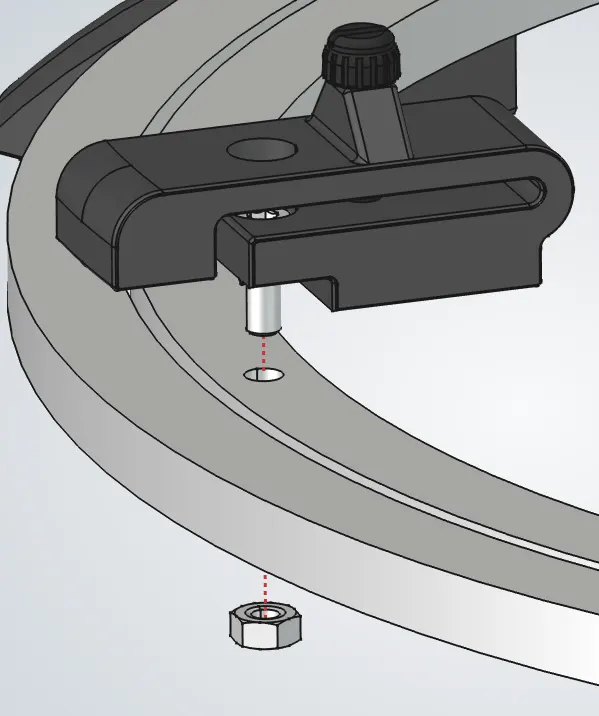
  3. 3.Place the azimuth clutch over the remaining hole in the inner ring, then add the nut on the other side and tighten the screw.
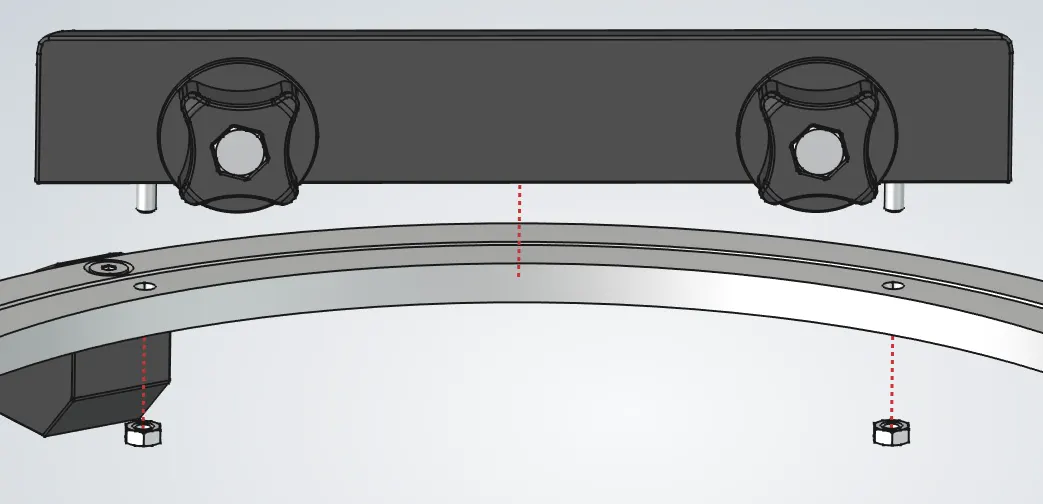
  4. 4.a.Place the two anchors against the outer ring, opposite to each other, and insert their screws through the matching holes.
    b.While tightening the nuts on the other side, press the anchor outward so it sits near the edge of the ring.

Stand Front

PartQty
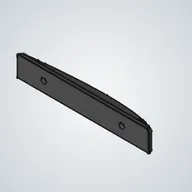
Stand front1Stand front thumbnail
Stand knob assembly2Stand knob assembly thumbnail
M4x10 thumbscrew2M4x10 thumbscrew thumbnail
M4 nut2M4 nut thumbnail
Stand eyepiece tray1Stand eyepiece tray thumbnail
M6 nut2M6 nut thumbnail
PartQty
Stand front1Stand front thumbnail
Stand knob assembly2Stand knob assembly thumbnail
M4x10 thumbscrew2M4x10 thumbscrew thumbnail
PartQty
M4 nut2M4 nut thumbnail
Stand eyepiece tray1Stand eyepiece tray thumbnail
M6 nut2M6 nut thumbnail
1Stand Front assembly
2Stand Front assembly
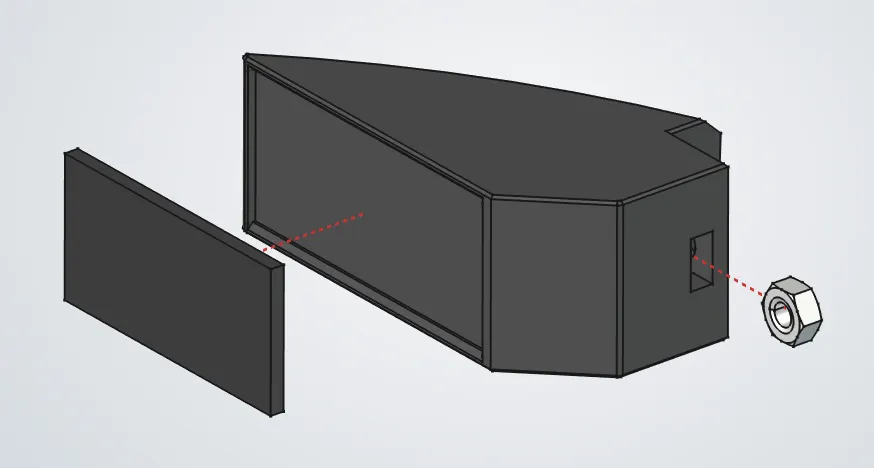
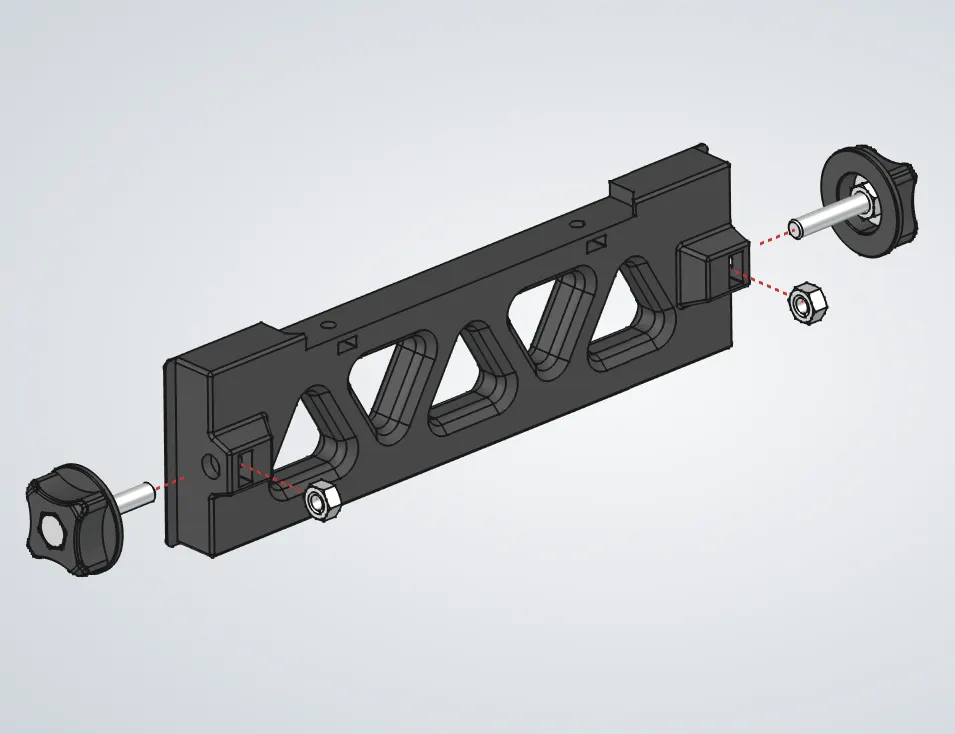
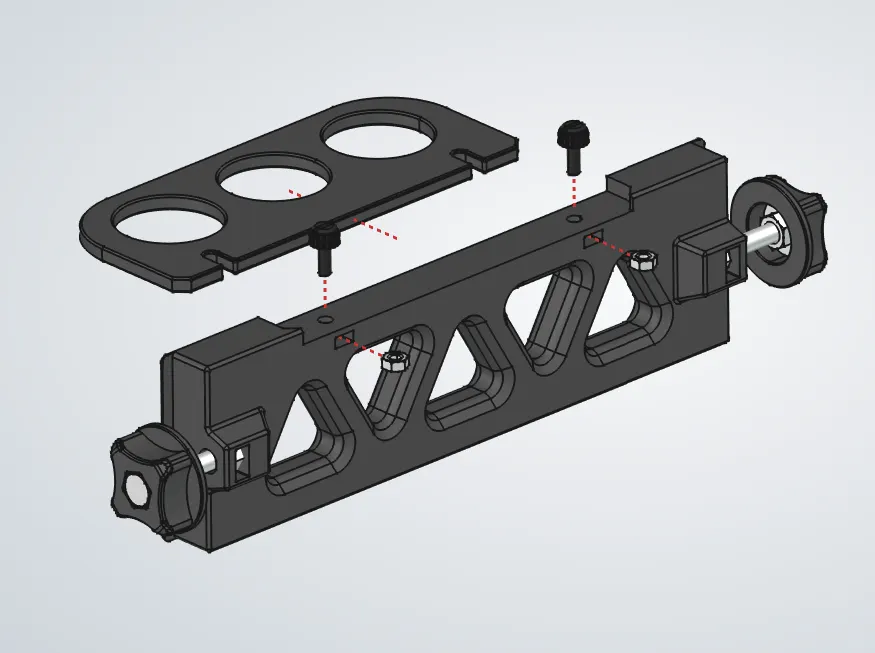
  1. 1.a.Insert the four M6 nuts into the side pockets.
    b.Thread the knobs into the nuts, leaving about 1 cm of space from the panel itself.
  2. 2.a.Insert the M4 nuts into their slots.
    b.Thread the thumbscrews into the front panel, leaving enough space for the eyepiece tray to slide under them.
    c.Slide the eyepiece tray into place under the thumbscrews.

Stand Assembly

PartQty
Stand base assembly1Stand base assembly thumbnail
Wooden stand side2Wooden stand side thumbnail
Stand front assembly1Stand front assembly thumbnail
Stand front without tray assembly1Stand front without tray assembly thumbnail
1Stand Assembly assembly
2Stand Assembly assembly
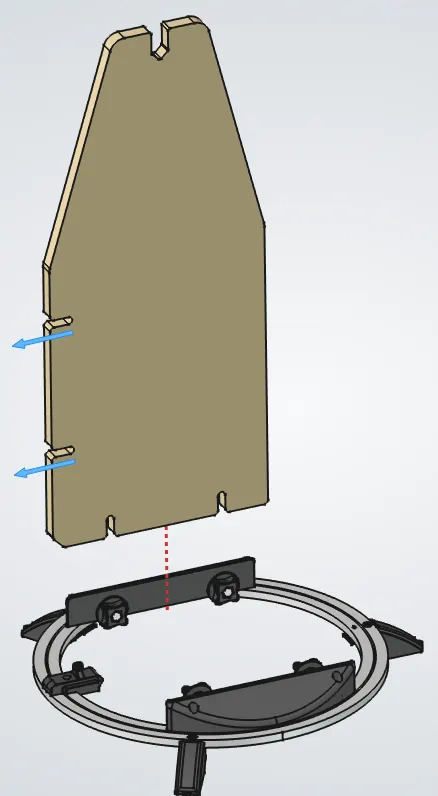
  1. 1.Slide one of the side boards under the base knobs and lock it in place. Orient the board so its slots face toward the azimuth clutch, as shown by the arrows. Repeat for the other side.
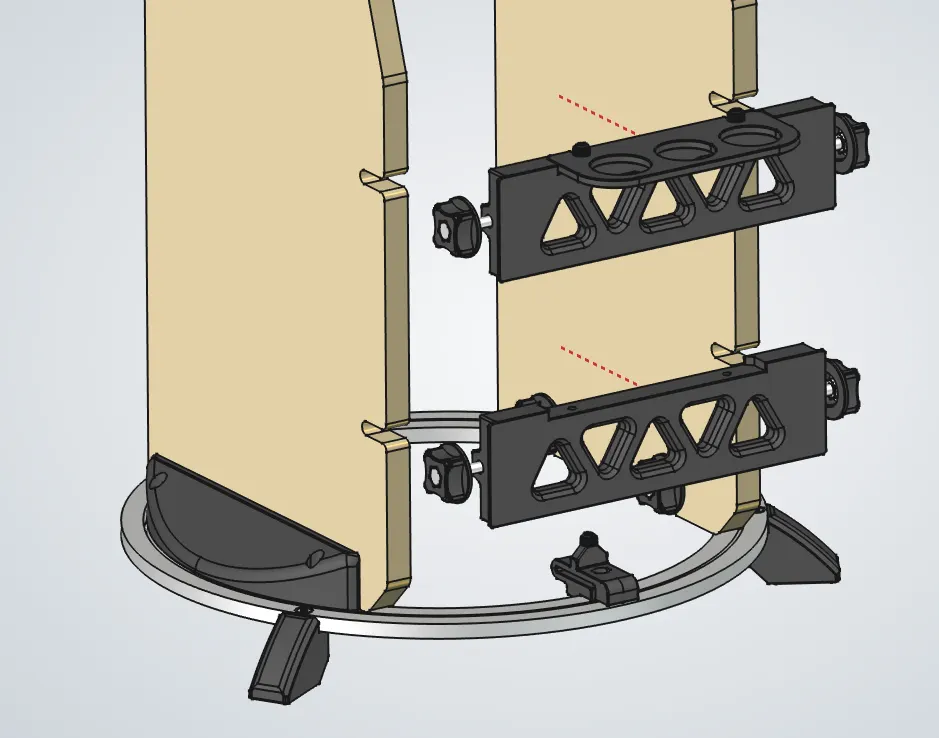
  2. 2.Slide the front panels in so their knobs pass through the slots in the side boards, then lock the knobs.