
Center Assembly
| Part | Qty | |
|---|---|---|
| Telescope center | 1 | 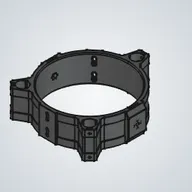 |
| Altitude clutch washer | 1 | 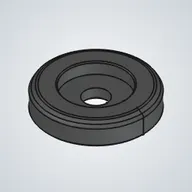 |
| Altitude clutch handle | 1 | 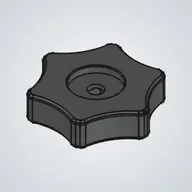 |
| Altitude clutch axle left | 1 | 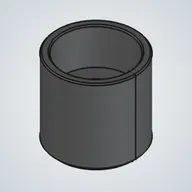 |
| M6x45 hex head screw | 1 | 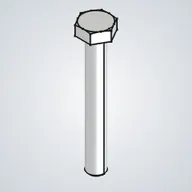 |
| M6 washer 40mm wide | 2 | 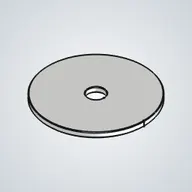 |
| M6x35 hex head screw | 1 | 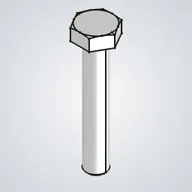 |
| M6 washer 18mm wide | 2 | 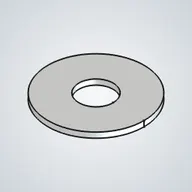 |
| M6 nut | 5 | 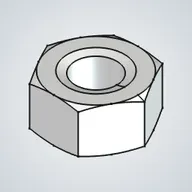 |
| Bearing AXK0819 | 1 | 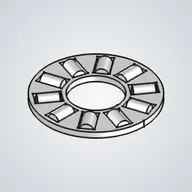 |
| M8 washer 19mm wide | 2 | 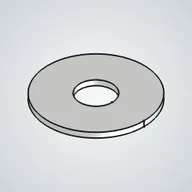 |
| Altitude clutch axle right | 1 | 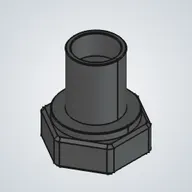 |
| M4x10 thumbscrew | 6 | 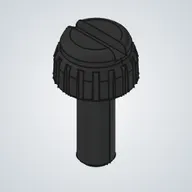 |
| M4 nut | 6 | 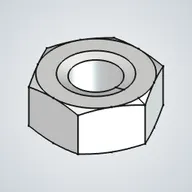 |
| Part | Qty | |
|---|---|---|
| Telescope center | 1 | |
| Altitude clutch washer | 1 | |
| Altitude clutch handle | 1 | |
| Altitude clutch axle left | 1 | |
| M6x45 hex head screw | 1 | |
| M6 washer 40mm wide | 2 | |
| M6x35 hex head screw | 1 | |
| Part | Qty | |
|---|---|---|
| M6 washer 18mm wide | 2 | |
| M6 nut | 5 | |
| Bearing AXK0819 | 1 | |
| M8 washer 19mm wide | 2 | |
| Altitude clutch axle right | 1 | |
| M4x10 thumbscrew | 6 | |
| M4 nut | 6 | |
1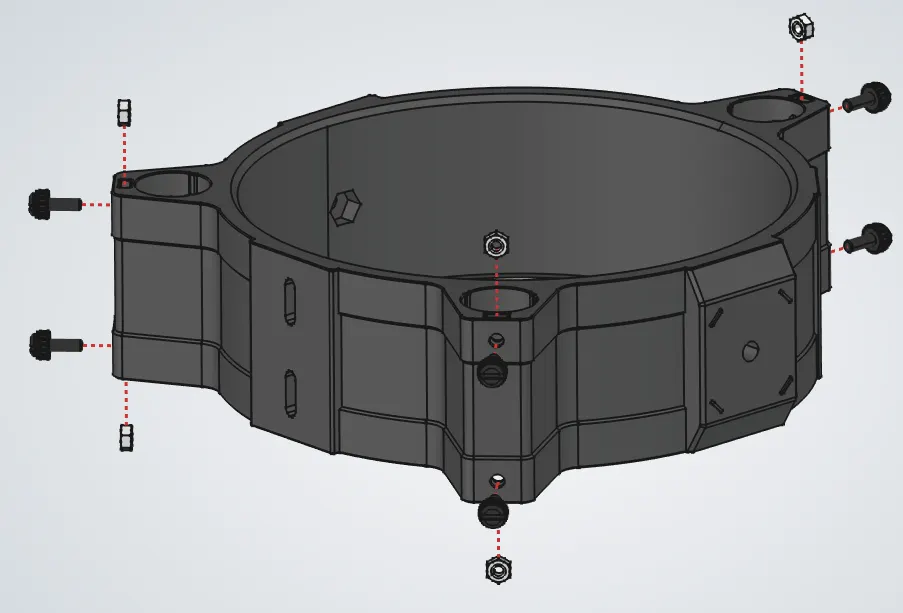
2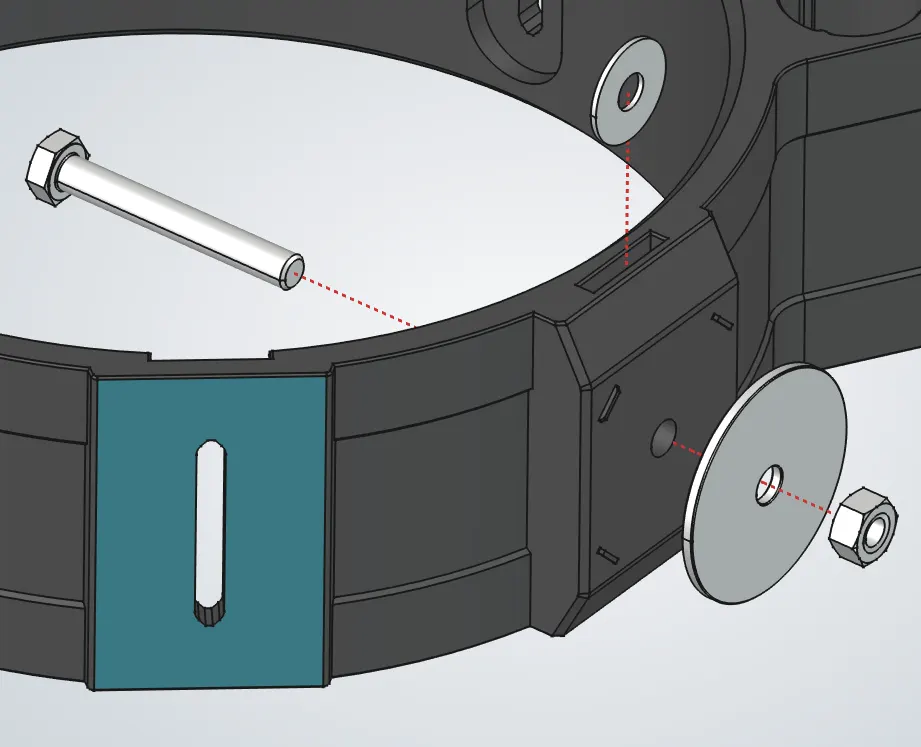
3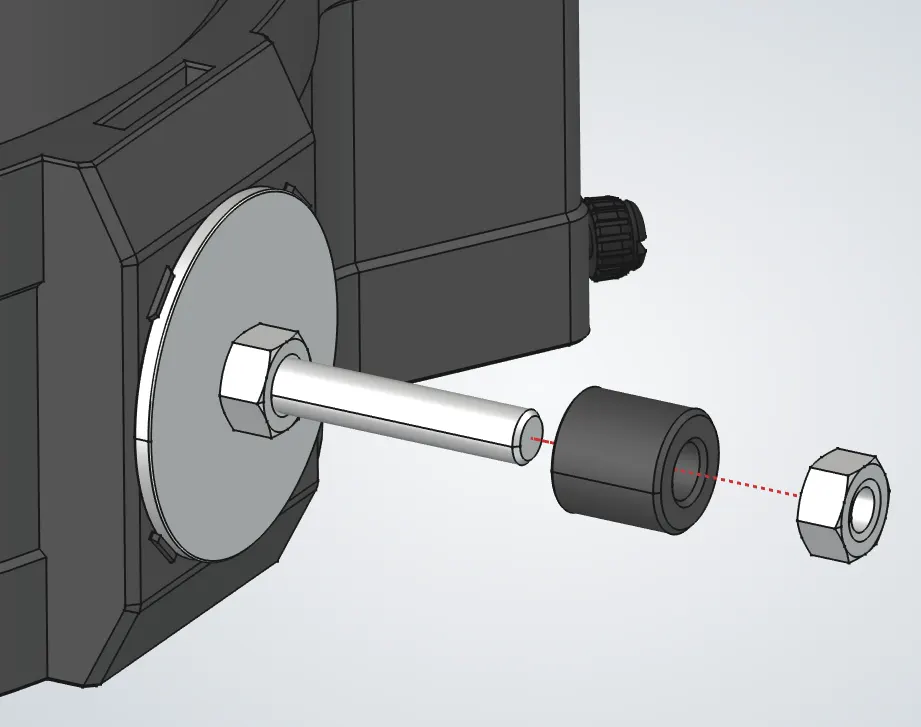
4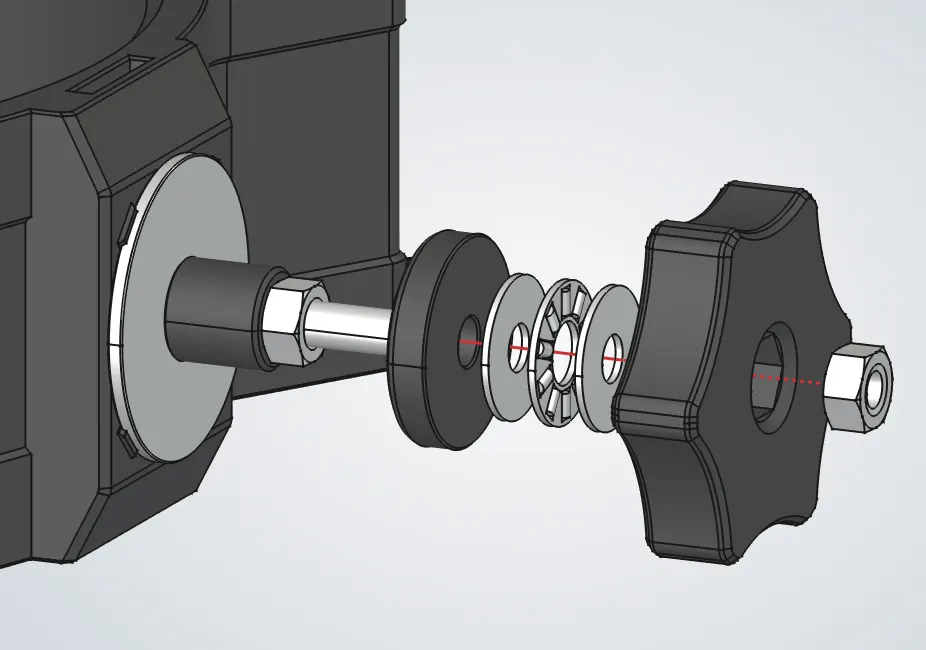
5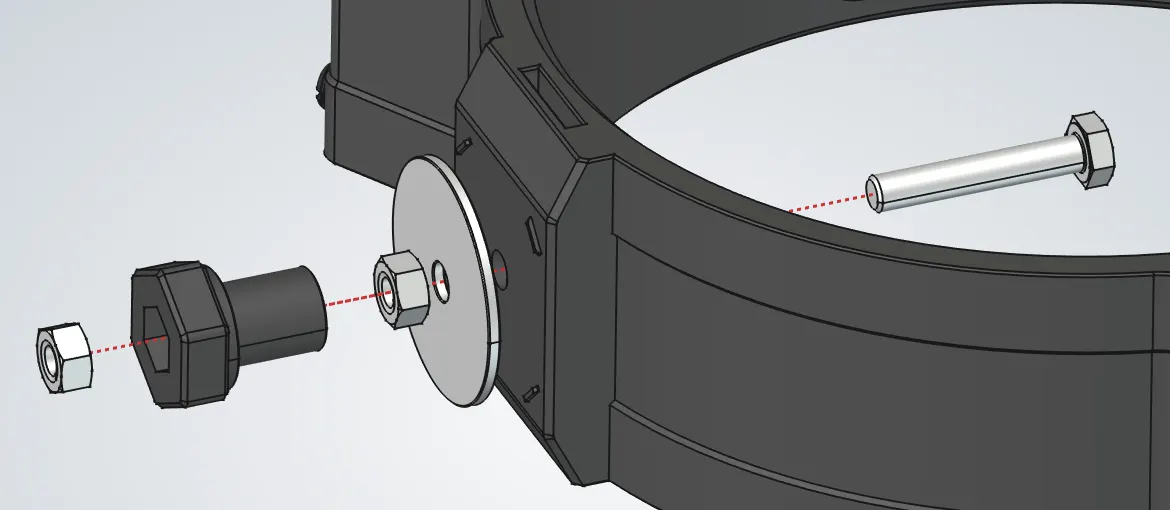
- 1.Insert the two nuts and screws into their pockets in the tube slot. Repeat for all three sides.
- 2.Find the side that is near the rail that is marked in blue.
- a.Take an 18mm washer and slide it into its designated slot. Make sure this is an 18mm washer, not the 19mm washer used with the bearings.
- b.Make sure not to mix up the 45mm and 35mm screws. This side uses the 45mm screw. Save the 35mm screw for the other side.
- c.Insert the large 45mm hex screw through the washer, then add the 40mm washer and M6 nut from the other side. Make sure the large washer sits between the tabs.
- d.Tighten the nut with the printed wrench.
- 3.Add the right axle on top of the screw and lock it in place using another M6 nut.
- 4.Build the handle stack.
- a.Add the printed washer with the recessed side facing the part.
- b.Add the 19mm washer.
- c.Add the bearing.
- d.Add another 19mm washer.
- e.Add the printed handle and nut.
- f.Tighten the handle just enough so it does not rattle.
- 5.Repeat step 2 on the other side, this time with a 35mm hex screw.
- 6.Insert an M6 nut into the left axle's recess, then thread the axle onto the 35mm screw by hand until it locks in place.