The Top Assembly

Secondary Cell

PartQty
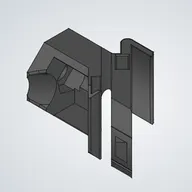
Secondary cell1Secondary cell thumbnail
M4x20 socket head screw1M4x20 socket head screw thumbnail
M4 nut3M4 nut thumbnail
M4x10 thumbscrew1M4x10 thumbscrew thumbnail
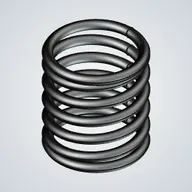
Spring 0.9mm1Spring 0.9mm thumbnail
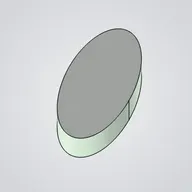
Secondary mirror1Secondary mirror thumbnail
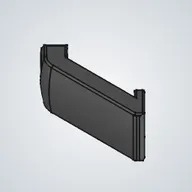
Secondary cell tab1Secondary cell tab thumbnail
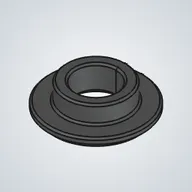
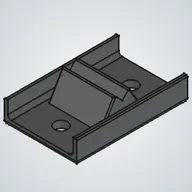
Secondary cell spring base1Secondary cell spring base thumbnail
M4x10 socket head screw1M4x10 socket head screw thumbnail
PartQty
Secondary cell1Secondary cell thumbnail
M4x20 socket head screw1M4x20 socket head screw thumbnail
M4 nut3M4 nut thumbnail
M4x10 thumbscrew1M4x10 thumbscrew thumbnail
Spring 0.9mm1Spring 0.9mm thumbnail
PartQty
Secondary mirror1Secondary mirror thumbnail
Secondary cell tab1Secondary cell tab thumbnail
Secondary cell spring base1Secondary cell spring base thumbnail
M4x10 socket head screw1M4x10 socket head screw thumbnail
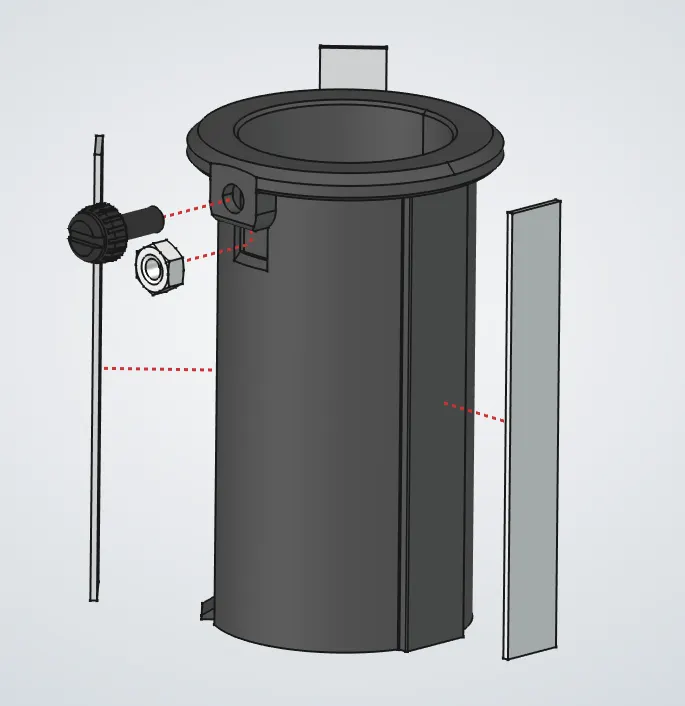
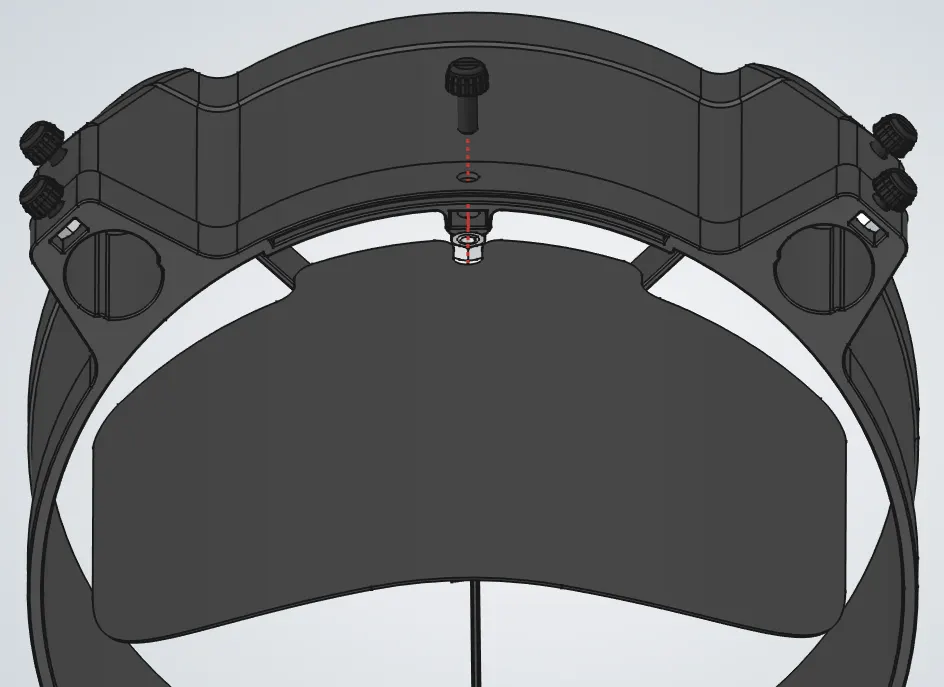
1Secondary Cell assembly
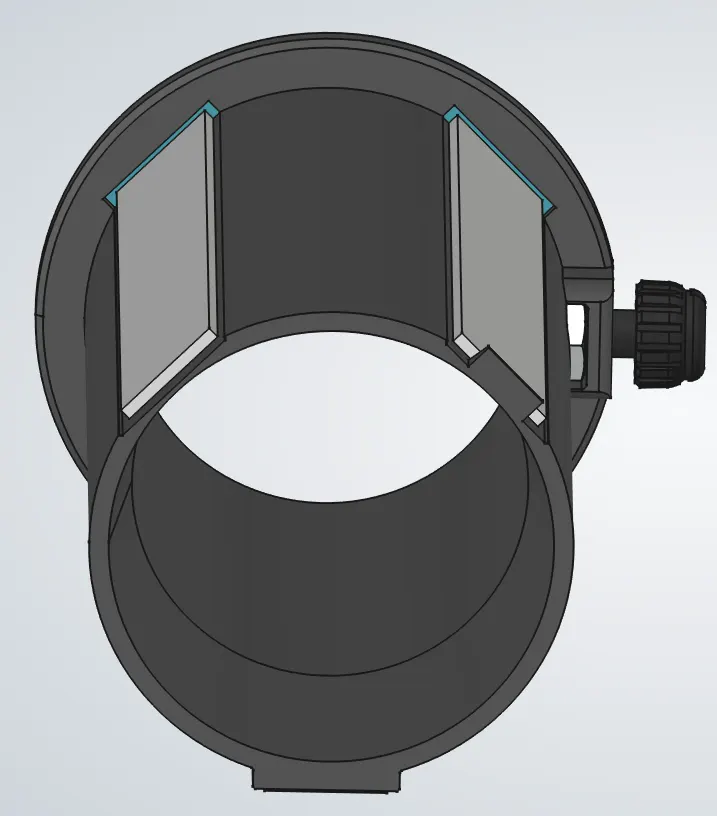
2Secondary Cell assembly
3Secondary Cell assembly
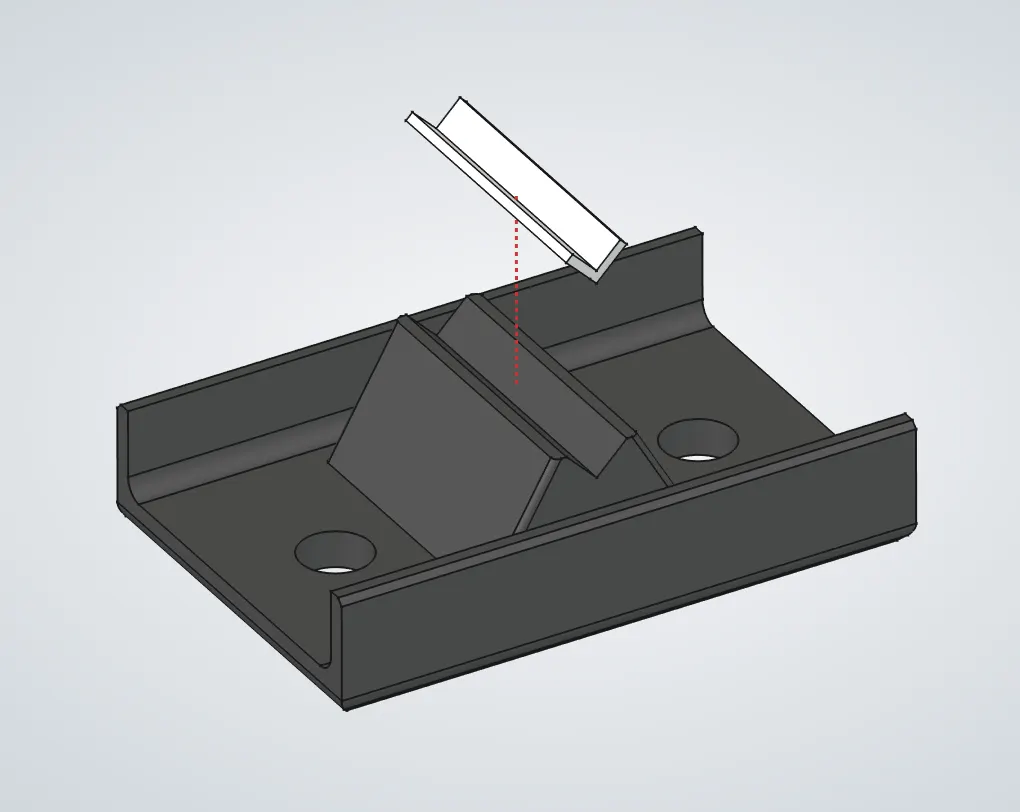
4Secondary Cell assembly
  1. 1.Install the spring
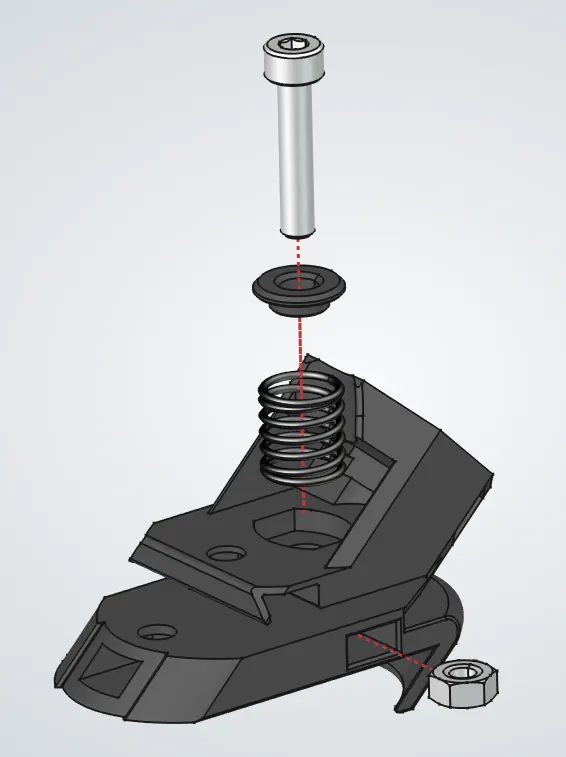
    1. a.Put the cell facing down like shown in image 1, and insert an M4 nut into the side pocket shown.
    2. b.Place a 0.9mm spring, the softer of the two spring types, in its recess.
    3. c.Add the spring base with its recess facing down, then place a 20mm screw on top.
    4. d.Press the spring down with one hand while using the Allen key in your other hand to tighten the screw.
    5. e.Watch the nut from the opposite side as the screw threads through it. Stop once the screw is fully engaged, before it protrudes past the nut.
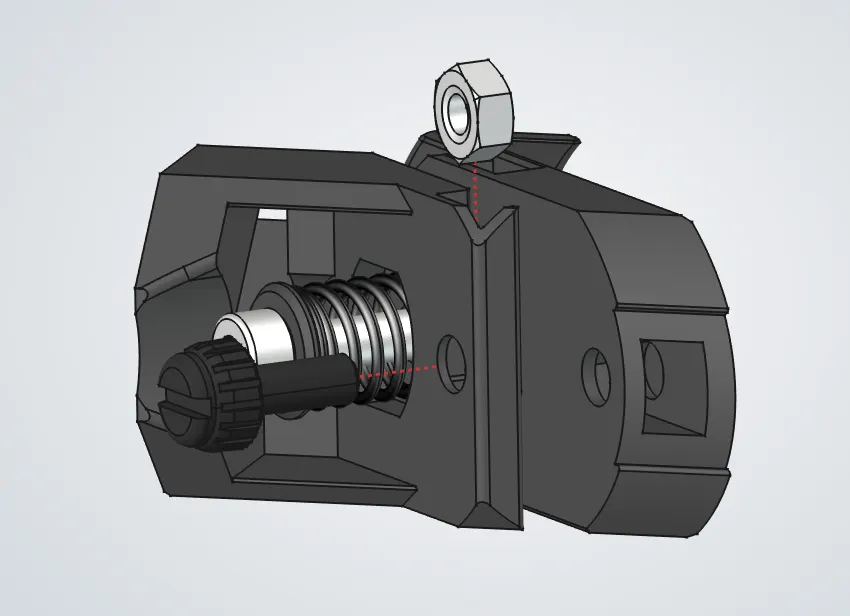
  1. 2.Install the thumbscrew and nut shown in image 2. Tighten it until it touches the other side, then tighten it another 1-2mm.
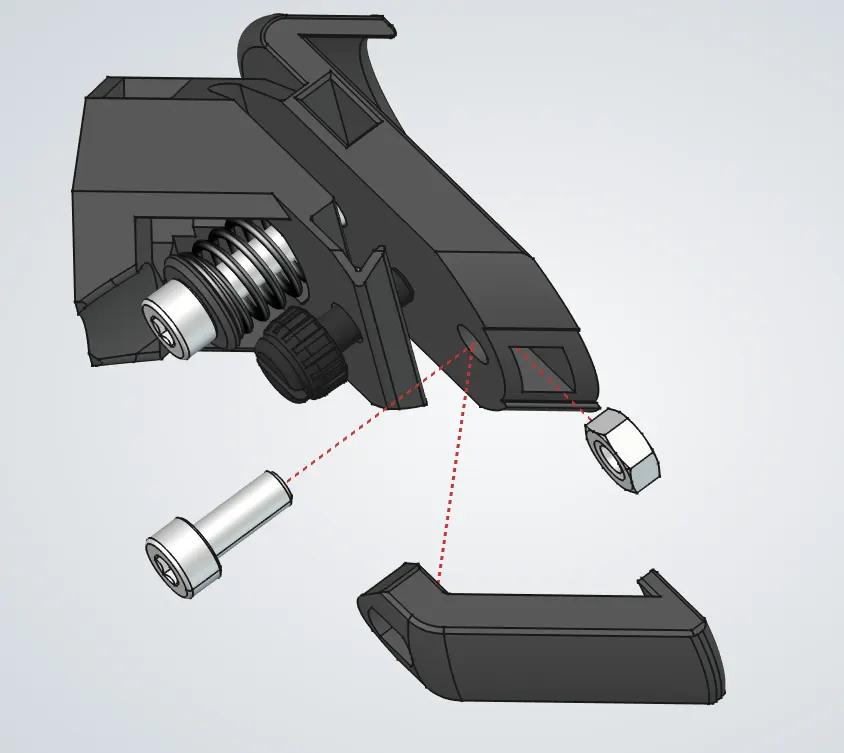
  1. 3.Install the secondary cell tab using an M4 nut and a 10mm screw. Keep it loose so the secondary mirror can be installed.
  1. 4.Install the secondary mirror.
    1. a.Single-use gloves are recommended for this step to avoid fingerprints on the mirror. With or without gloves, avoid touching the mirror surface.
    2. b.Place the mirror in its recess and make sure it is fully seated.
    3. c.Press the tab firmly against the mirror with one hand while using the Allen key in your other hand to tighten the tab's screw.
    4. d.Try to move the mirror to make sure it is held firmly. It should not move.
  1. 5.Cover the mirror cell with one of the velvet bags to keep the mirror clean during the next steps.
Spider

PartQty
Secondary cell assembly1Secondary cell assembly thumbnail
Secondary cell spider1Secondary cell spider thumbnail
M6x35 hex head screw1M6x35 hex head screw thumbnail
M8 washer 19mm wide4M8 washer 19mm wide thumbnail
Bearing AXK08192Bearing AXK0819 thumbnail
M4 nut3M4 nut thumbnail
Secondary cell spider knob1Secondary cell spider knob thumbnail
M6 nut1M6 nut thumbnail
PartQty
Secondary cell assembly1Secondary cell assembly thumbnail
Secondary cell spider1Secondary cell spider thumbnail
M6x35 hex head screw1M6x35 hex head screw thumbnail
M8 washer 19mm wide4M8 washer 19mm wide thumbnail
PartQty
Bearing AXK08192Bearing AXK0819 thumbnail
M4 nut3M4 nut thumbnail
Secondary cell spider knob1Secondary cell spider knob thumbnail
M6 nut1M6 nut thumbnail
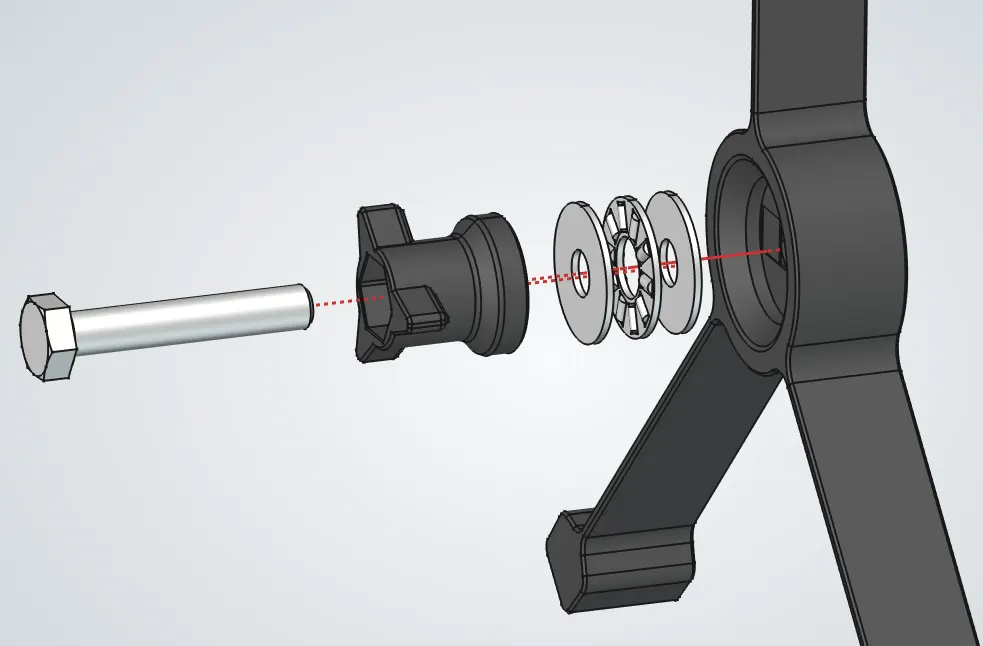
1Spider assembly
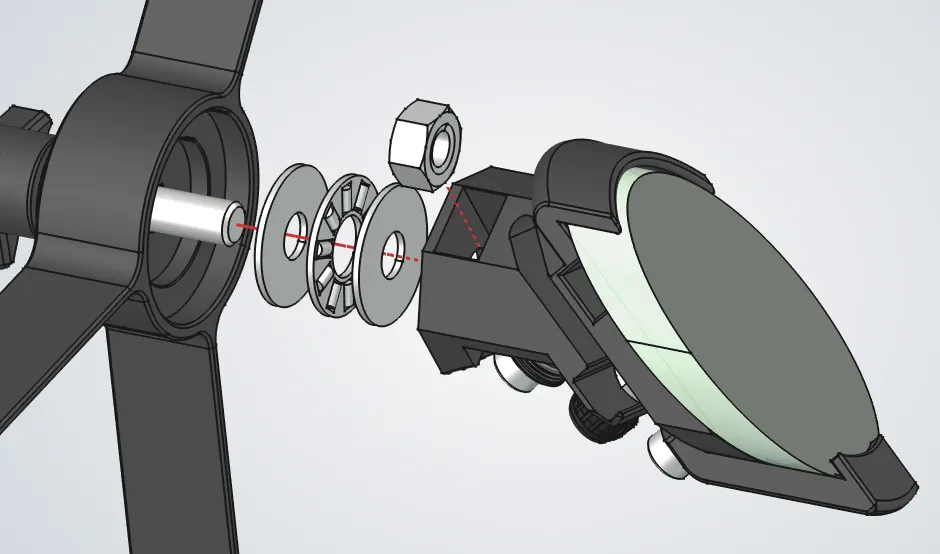
2Spider assembly
3Spider assembly
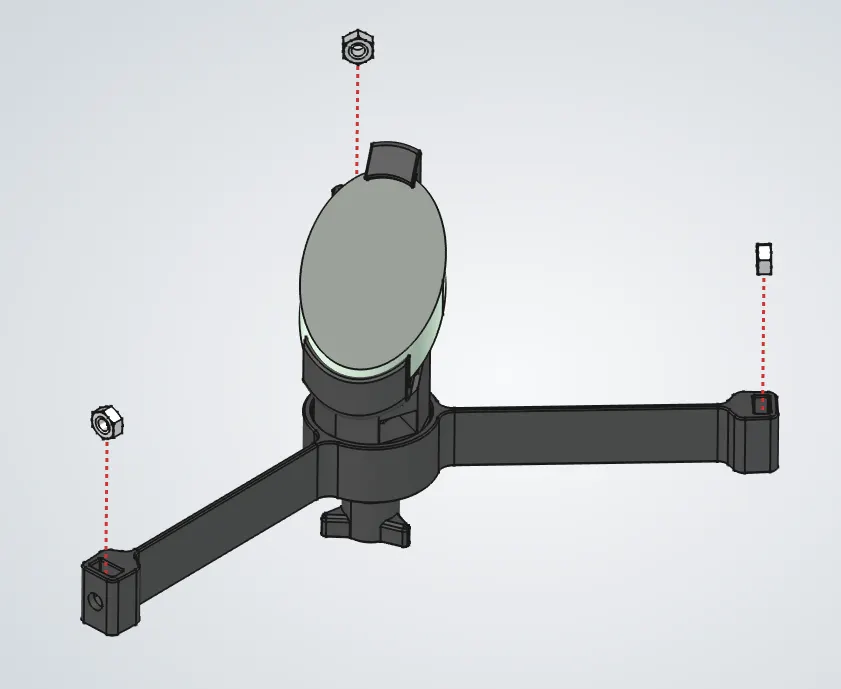
  1. 1.From the front of the spider, install these parts through the center hole.
    1. a.M6x35 screw.
    2. b.Spider knob.
    3. c.Two 18mm washers.
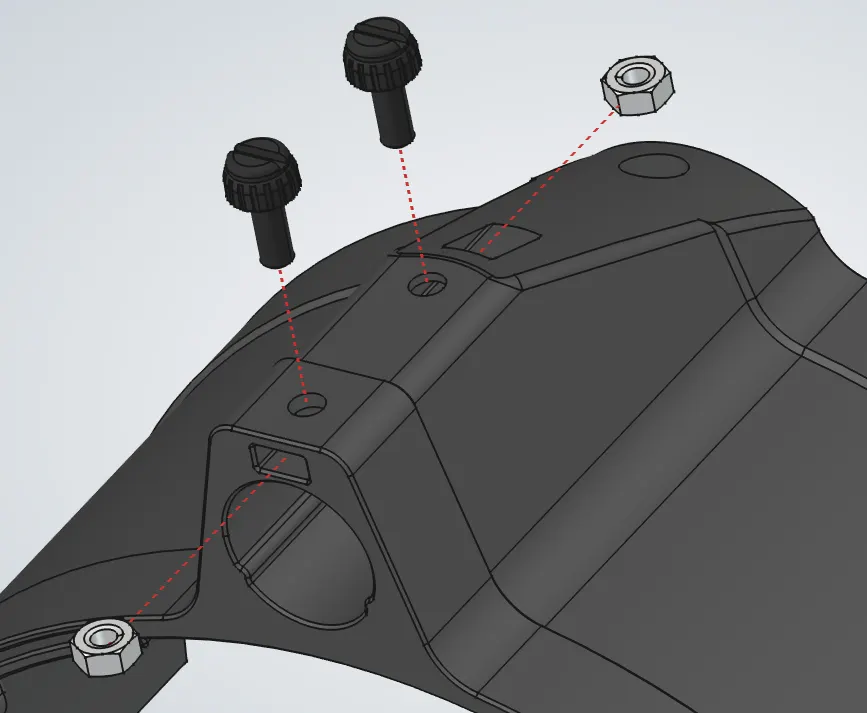
  2. 2.On the other side of the spider, add these parts onto the screw.
    1. a.19mm washer.
    2. b.AXK bearing.
    3. c.Another 19mm washer.
  3. 3.Tighten the spider knob until the secondary cell turns only when you turn the knob, with firm friction and no free play.
  4. 4.Put the velvet bag over the secondary cell so the mirror stays clean for the rest of the assembly.
  5. 5.Insert the nuts into the pockets at the ends of the spider arms.

Focuser Knob

PartQty
Focuser knob2Focuser knob thumbnail
3 mmx60 pin13 mmx60 pin thumbnail
M4x10 socket head screw2M4x10 socket head screw thumbnail
M4 nut2M4 nut thumbnail
Silicone band 20x52Silicone band 20x5 thumbnail
Focuser Knob assembly
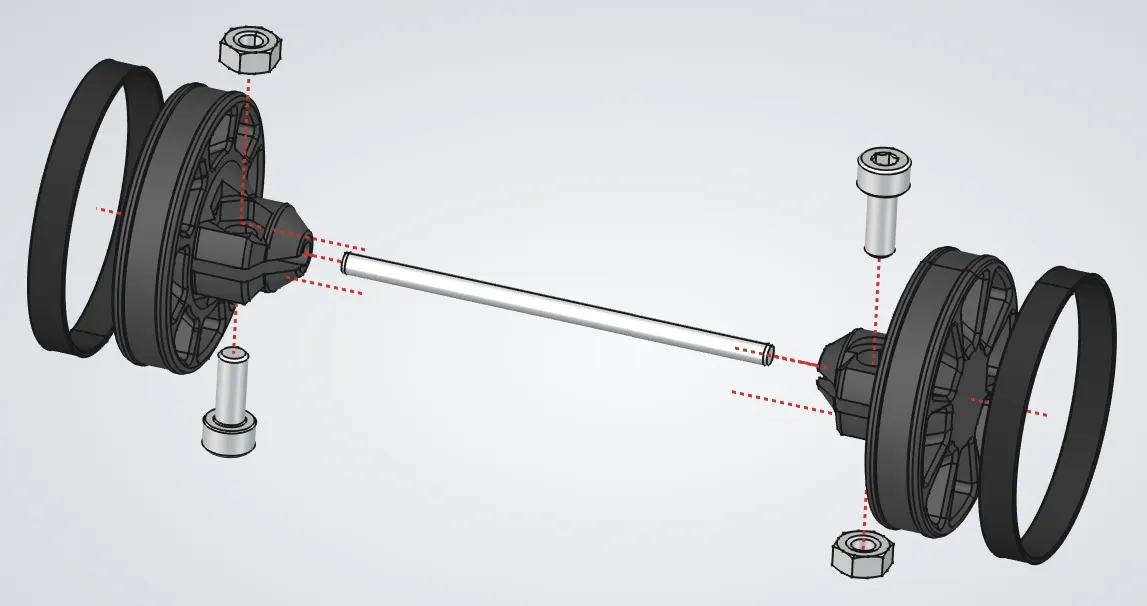
  1. 1.Install a screw and nut in each knob.
  2. 2.Fit the rubber bands onto the knobs.
  3. 3.Slide the knobs onto the shaft until fully seated, then tighten the screws to clamp them in place.

Focuser Base

PartQty
Focuser base1Focuser base thumbnail
Bearing 6042RS4Bearing 6042RS thumbnail
M4x10 socket head screw4M4x10 socket head screw thumbnail
Focuser Base assembly
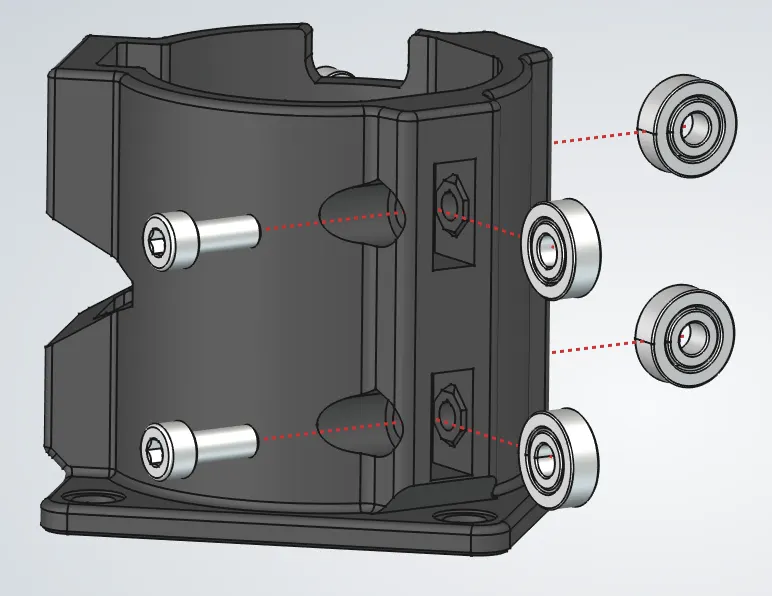
  1. 1.Place a bearing in one of the bearing pocket on the base.
  2. 2.Insert the M4 screw through the bearing and into the opposite side of the pocket.
  3. 3.Tighten the screw into the plastic until the screw lip seats in place.
  4. 4.Check that the bearing still spins freely.
  5. 5.Repeat for the other bearings.

Focuser Tube

PartQty
Focuser tube1Focuser tube thumbnail
M4x10 thumbscrew1M4x10 thumbscrew thumbnail
M4 nut1M4 nut thumbnail
Aluminum rail for focuser3Aluminum rail for focuser thumbnail
1Focuser Tube assembly
2Focuser Tube assembly
  1. 1.Install the thumbscrew and captive nut in the focuser tube.
  2. 2.For each rail, peel off the double-sided tape backing and place the rail on the tube.
  3. 3.Align each rail with the shallow groove in the tube.
  4. 4.Press each rail firmly for a few seconds so the tape bonds well.
  5. 5.Do not worry about the tape strength. It only needs to hold the rails during assembly, the pressure from the bearing will keep them in place.

Focuser Bridge

PartQty
Focuser bridge1Focuser bridge thumbnail
PTFE piece1PTFE piece thumbnail
Focuser Bridge assembly
  1. 1.Cut a 1.5 cm by 0.8 cm piece from the PTFE sheet.
  2. 2.Peel off the backing and stick the PTFE piece into the recess on the bridge.
  3. 3.Use the long shaft of the Allen key to press it down firmly so it takes the shape of the recess.

Focuser

PartQty
M4x10 thumbscrew2M4x10 thumbscrew thumbnail
M4 nut2M4 nut thumbnail
Focuser bridge assembly1Focuser bridge assembly thumbnail
Focuser knob assembly1Focuser knob assembly thumbnail
Focuser tube assembly1Focuser tube assembly thumbnail
Focuser base assembly1Focuser base assembly thumbnail
PartQty
M4x10 thumbscrew2M4x10 thumbscrew thumbnail
M4 nut2M4 nut thumbnail
Focuser bridge assembly1Focuser bridge assembly thumbnail
PartQty
Focuser knob assembly1Focuser knob assembly thumbnail
Focuser tube assembly1Focuser tube assembly thumbnail
Focuser base assembly1Focuser base assembly thumbnail
1Focuser assembly
2Focuser assembly
3Focuser assembly
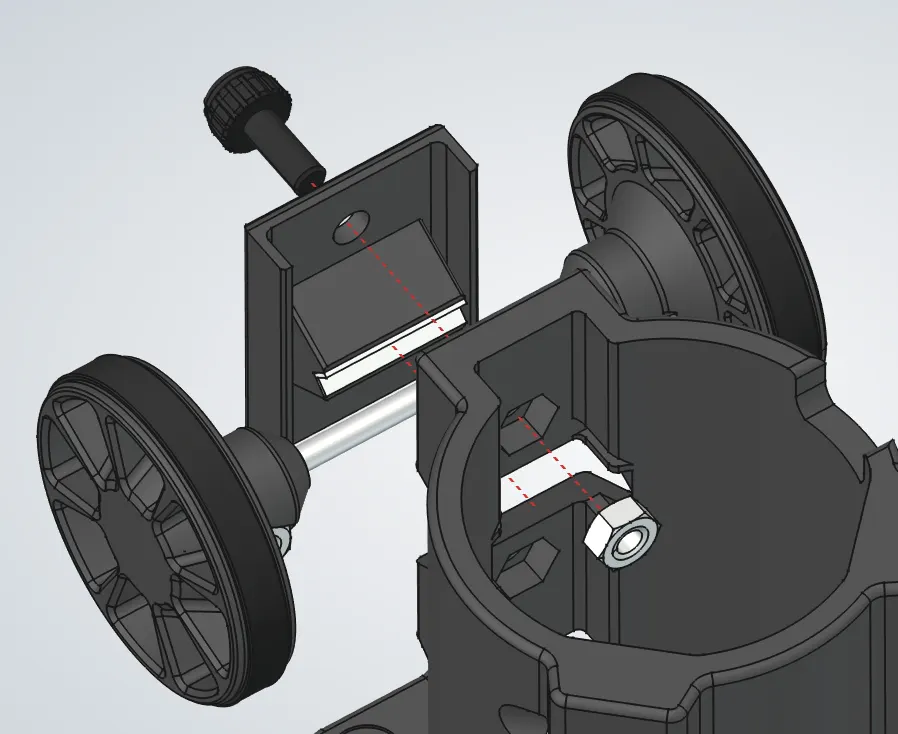
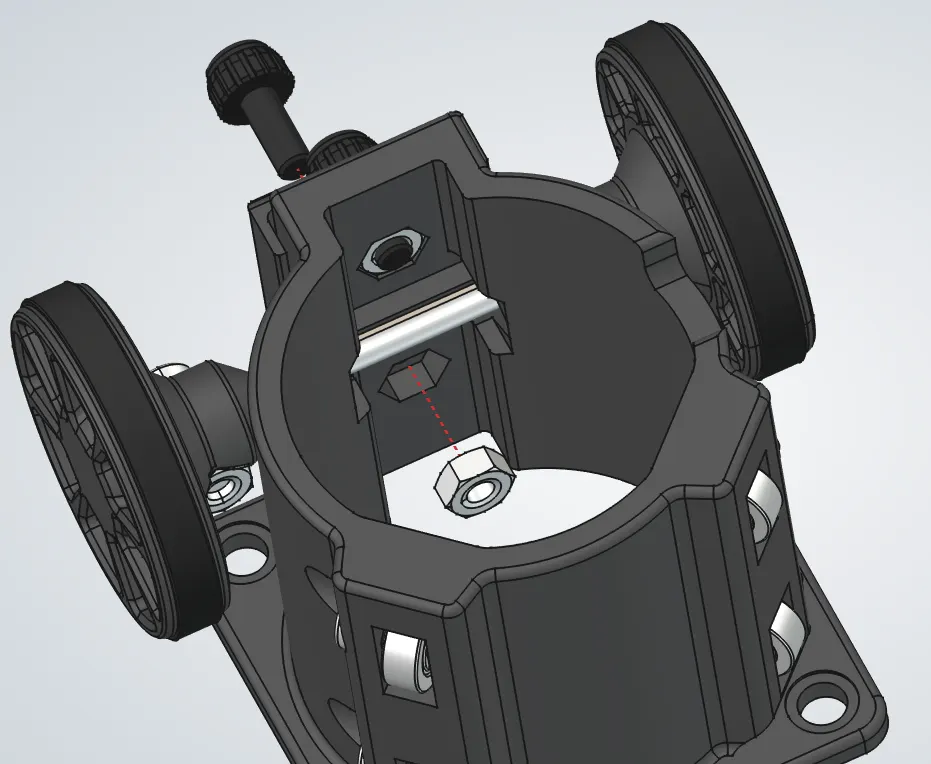
  1. 1.Insert an M4 nut into the top pocket in the base. From the other side, thread the thumbscrew through the focuser bridge and the knob into the nut.
  2. 2.Add the lower thumbscrew and nut the same way. Tighten both thumbscrews only enough to keep the assembly from falling apart.
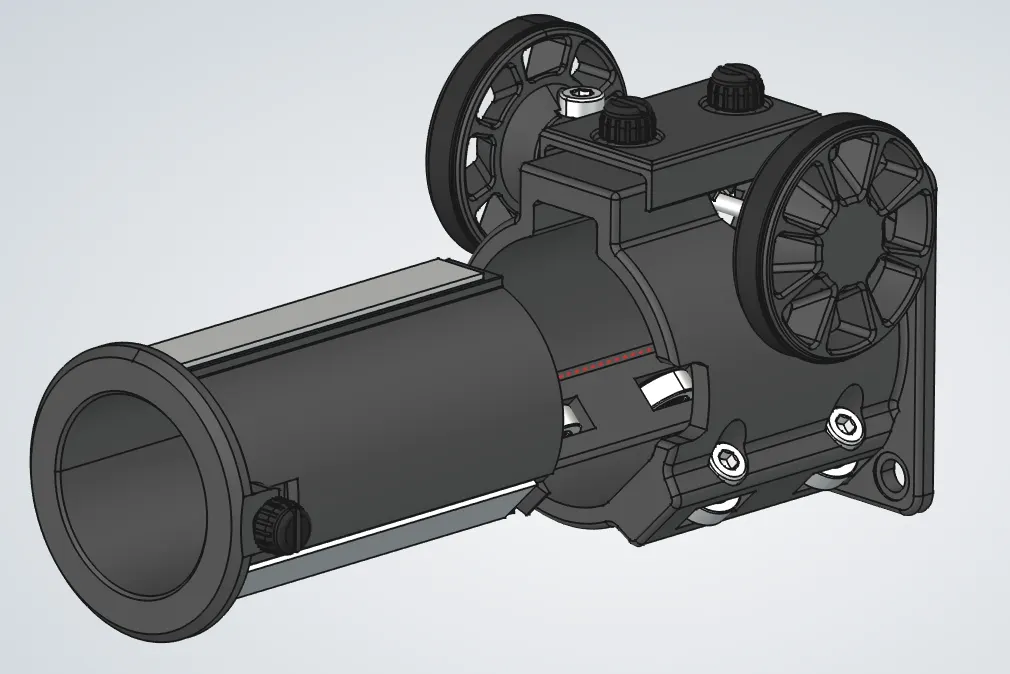
  3. 3.Slide the focuser tube into the base. The thumbscrew should fit into the pocket in the base so the tube can reach all the way down.
  4. 4.Tighten the bridge thumbscrews until the tube moves smoothly when you turn the knob, even while pressing down on the tube.

Finder Mount

PartQty
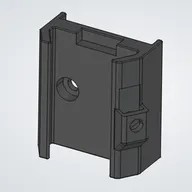
Finder mount1Finder mount thumbnail
M4x10 socket head screw2M4x10 socket head screw thumbnail
M4x10 thumbscrew1M4x10 thumbscrew thumbnail
M4 nut1M4 nut thumbnail
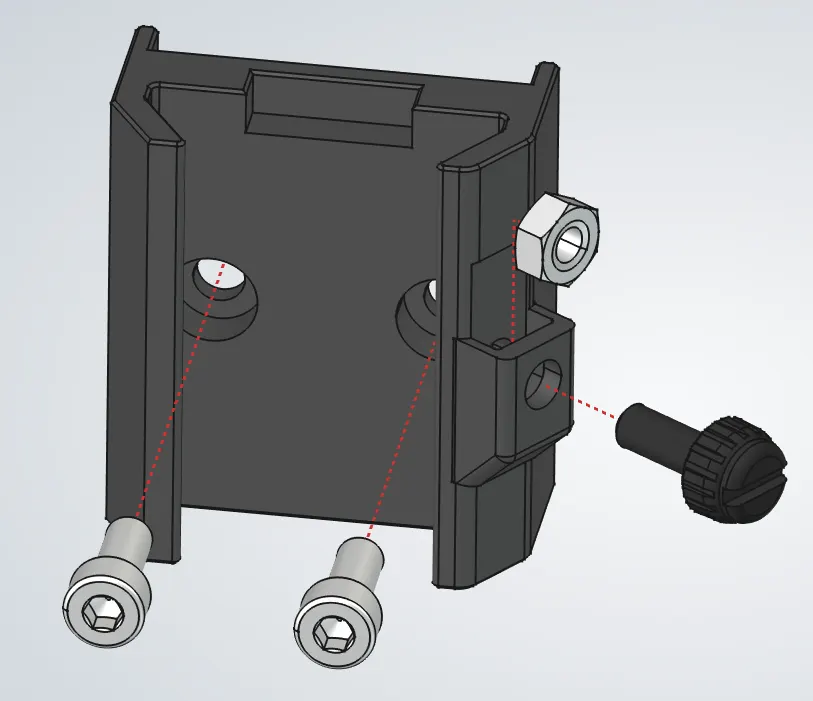
Finder Mount assembly
  1. 1.Insert the M4 nut into its pocket, then thread the thumbscrew into it.
  2. 2.Insert the two M4 screws that will later attach the mount to the top assembly.

Preparing the Finder

PartQty
Red dot finder1Red dot finder thumbnail
1Preparing the Finder assembly
2Preparing the Finder assembly
3Preparing the Finder assembly
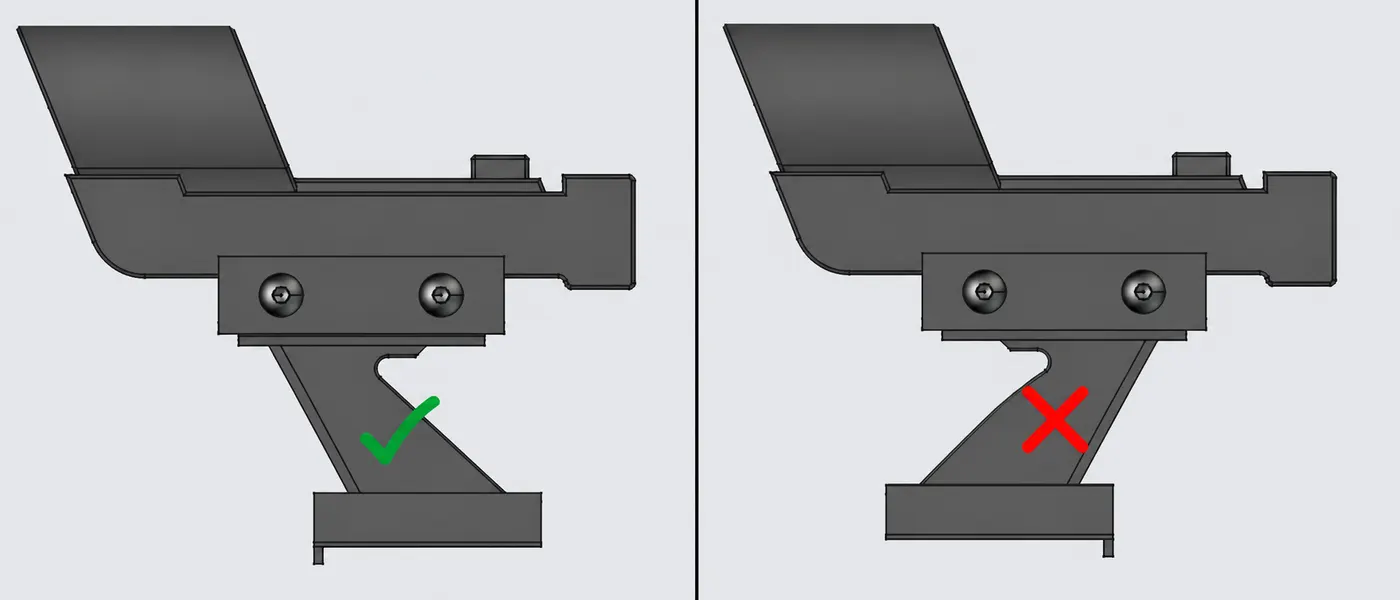
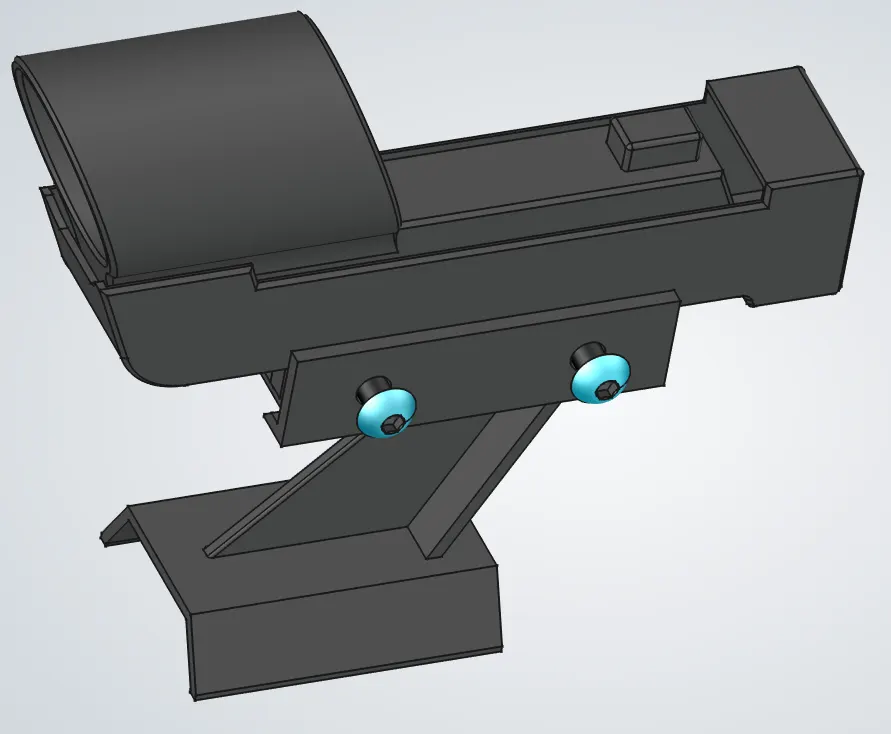
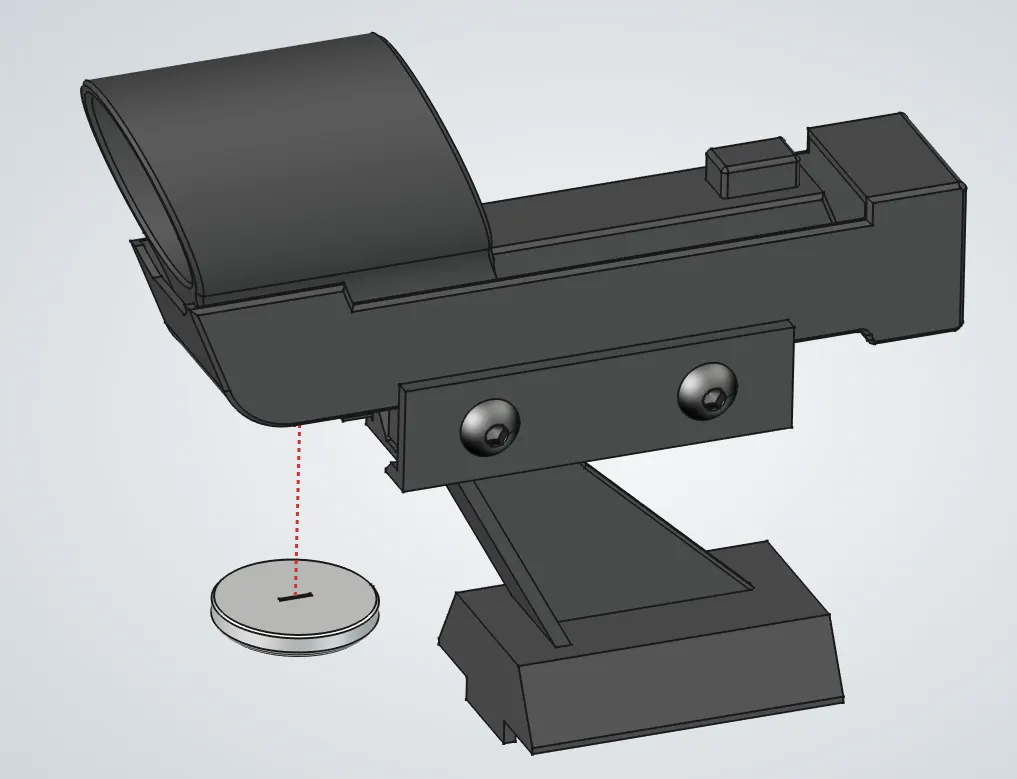
  1. 1.First, flip the finder on its stem so the small tab sits at the front. This helps keep the finder from sliding off its mount. The first image shows the correct orientation versus the incorrect one.
    1. a.Loosen the two side screws on the finder just enough to slide the base off.
    2. b.Flip the base so the side with the small tab faces forward.
    3. c.Slide the base back into the finder and tighten the two side screws.
  2. 2.Install the battery in the compartment at the front.

Top Assembly

PartQty
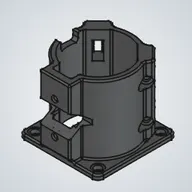
Telescope top1Telescope top thumbnail
M4 nut13M4 nut thumbnail
Finder mount assembly1Finder mount assembly thumbnail
M4x10 thumbscrew7M4x10 thumbscrew thumbnail
Focuser assembly1Focuser assembly thumbnail
M4x10 socket head screw7M4x10 socket head screw thumbnail
Spider assembly1Spider assembly thumbnail
Light shield1Light shield thumbnail
Red dot finder1Red dot finder thumbnail
PartQty
Telescope top1Telescope top thumbnail
M4 nut13M4 nut thumbnail
Finder mount assembly1Finder mount assembly thumbnail
M4x10 thumbscrew7M4x10 thumbscrew thumbnail
Focuser assembly1Focuser assembly thumbnail
PartQty
M4x10 socket head screw7M4x10 socket head screw thumbnail
Spider assembly1Spider assembly thumbnail
Light shield1Light shield thumbnail
Red dot finder1Red dot finder thumbnail
1Top Assembly assembly
2Top Assembly assembly
3Top Assembly assembly
4Top Assembly assembly
5Top Assembly assembly
6Top Assembly assembly
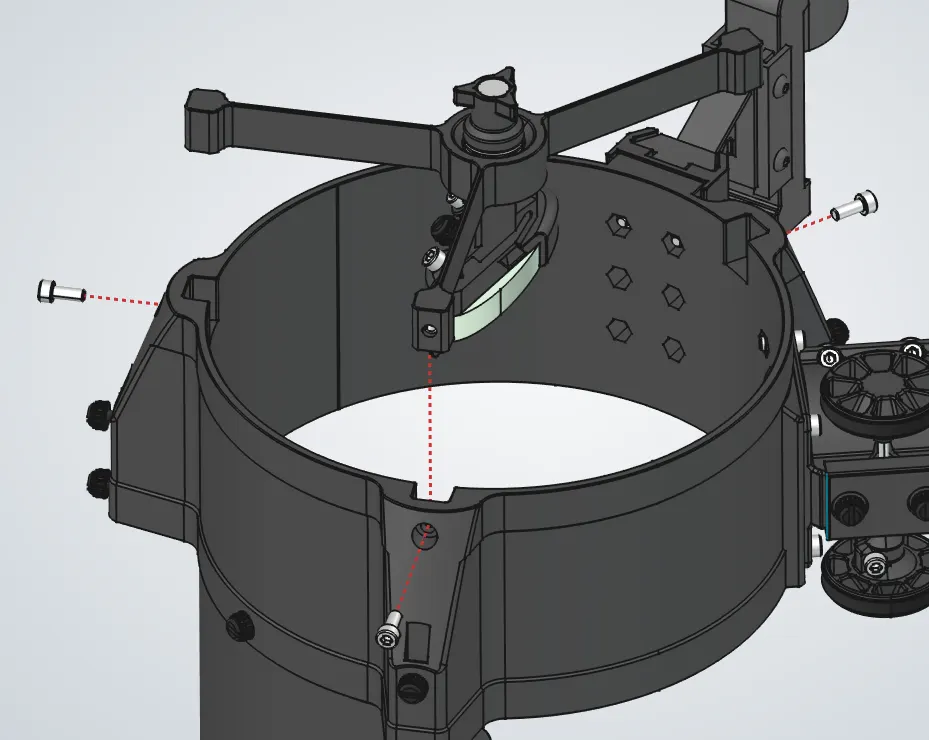
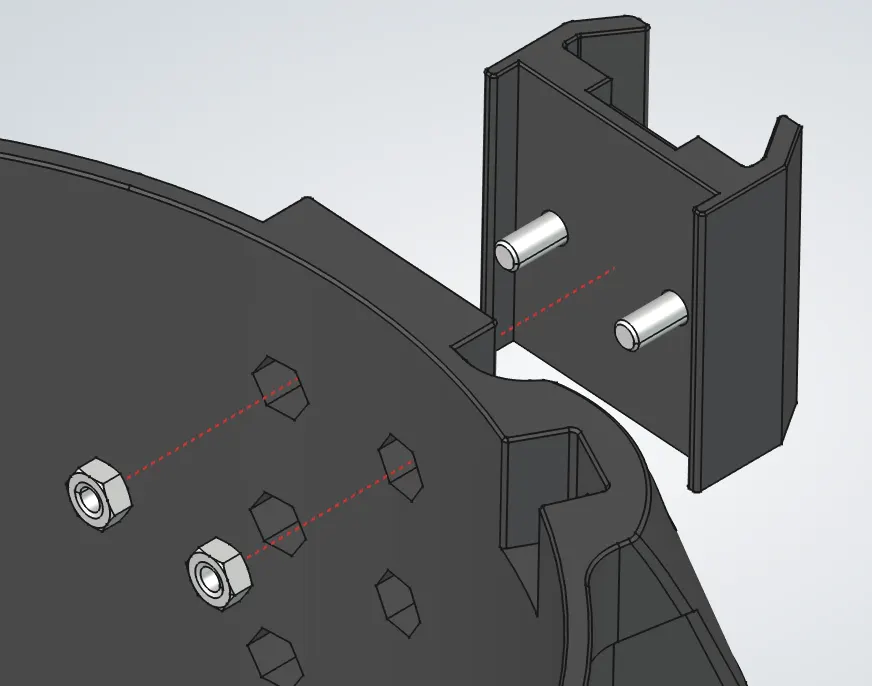
  1. 1.Insert the two nuts and screws into their pockets in the tube slot. Repeat for all three sides.
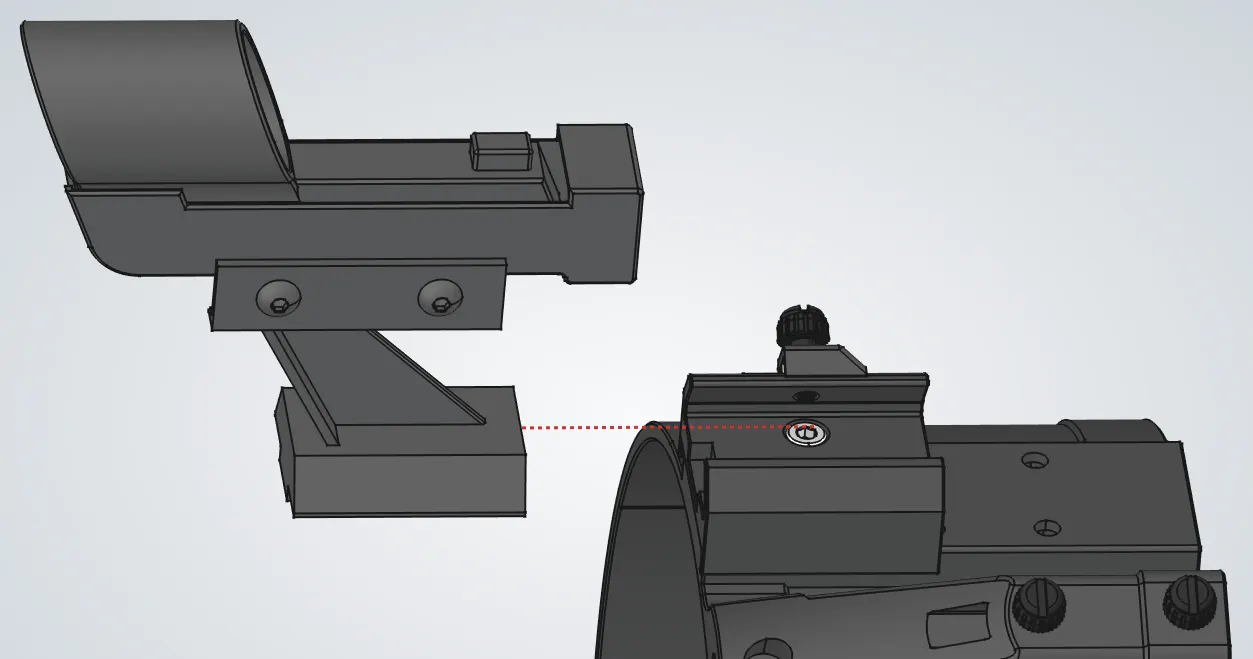
  1. 2.Attach the finder mount to the accessory rail with the recessed side facing up.
  1. 3.Seat the finder in its mount and lock it with the mount's thumbscrew.
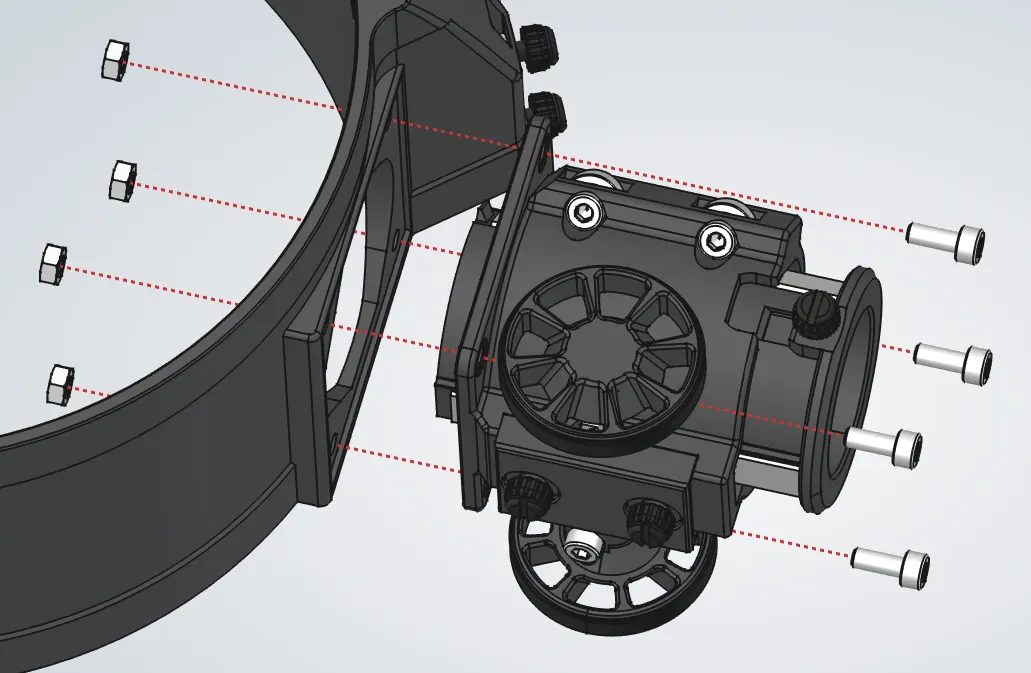
  1. 4.Mount the focuser assembly with four M4 nuts. Face the handle away from the tube slot near the focuser, as shown.
  1. 5.Install the spider assembly and secure it with three M4 screws.
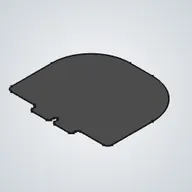
  1. 6.Install the nut and screw for the light shield, then install the light shield.