
Telescope Assembly
| Part | Qty | |
|---|---|---|
| Telescope bottom assembly | 1 | 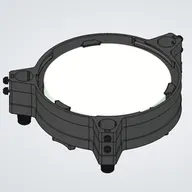 |
| Telescope center assembly | 1 | 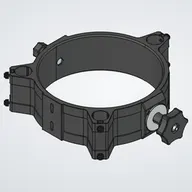 |
| Tube assembly | 3 | 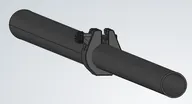 |
| Telescope top assembly | 1 | 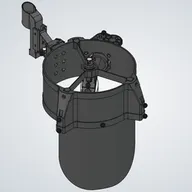 |
1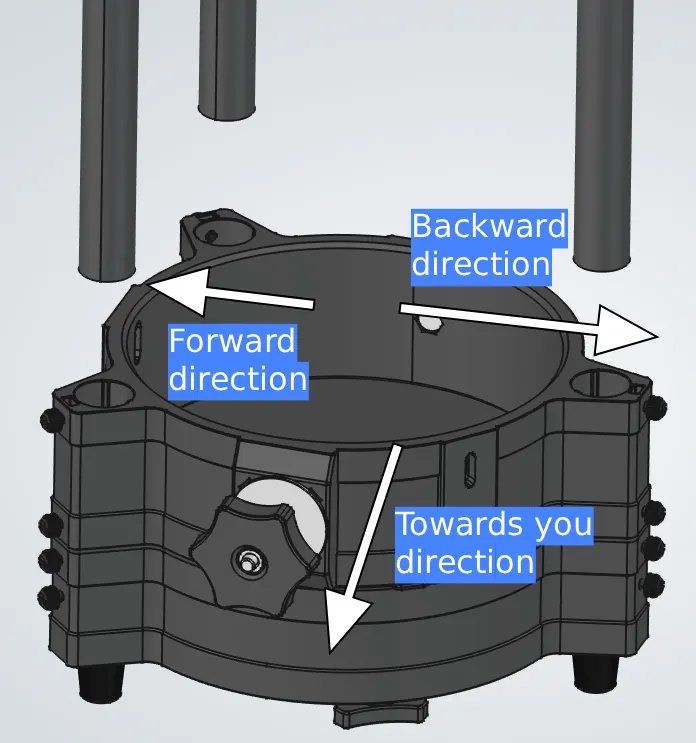
2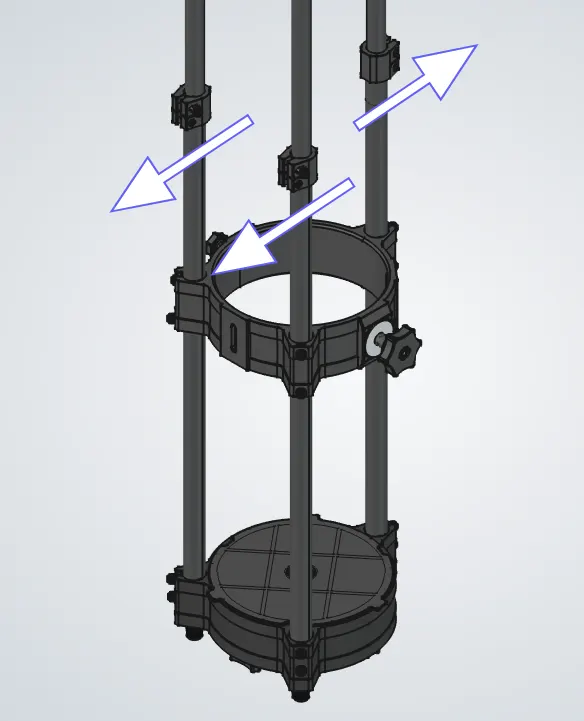
3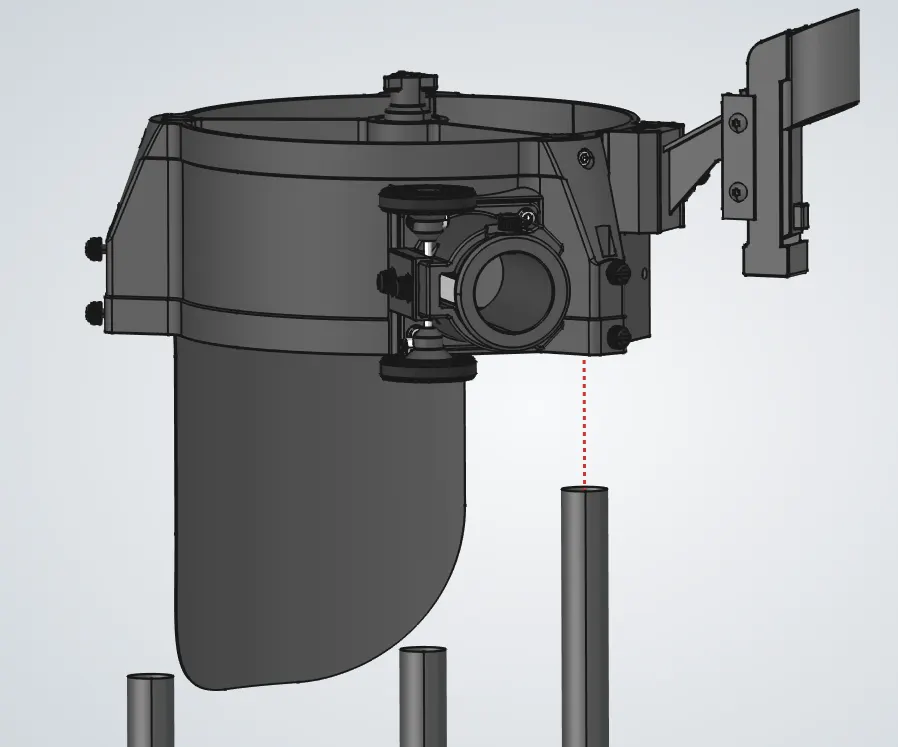
4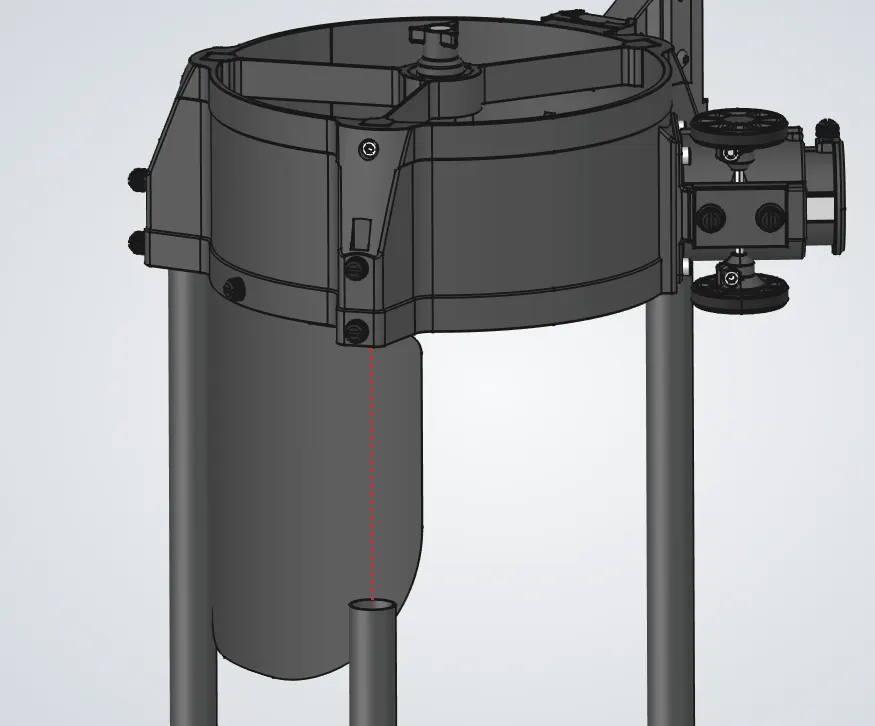
- 1.Place the bottom assembly on your build surface, aligned as shown in image 1.
- 2.Place the center assembly on top of it with the handle facing you.
- 3.Insert the tubes through both assemblies, making sure they slide all the way down and do not get caught on the thumbscrews.
- 4.Rotate the tubes so the bottom clamps face forward and the top one faces backward, as shown in image 2.
- 5.Lock the thumbscrews on the bottom assembly.
- 6.Slide the center assembly up about 30cm (1 ft).
- 7.Lock some of the center assembly's thumbscrews. Not all are needed yet, since we will adjust the distance later.
- 8.By now, all three tubes should be extended from the earlier steps. Keep only the back one extended, and retract the other two halfway so they will not interfere.
- 9.Place the top assembly on the tube and lock the thumbscrew, making sure it is fully seated.
- 10.Extend the other two tubes, then insert and lock their thumbscrews.
- 11.Now you can collapse the whole telescope:
- a.Unlock the clamps and collapse the telescope.
- b.Lock the clamps again.
- c.As you do this, the light shield will slide above the clamp and will not interfere.