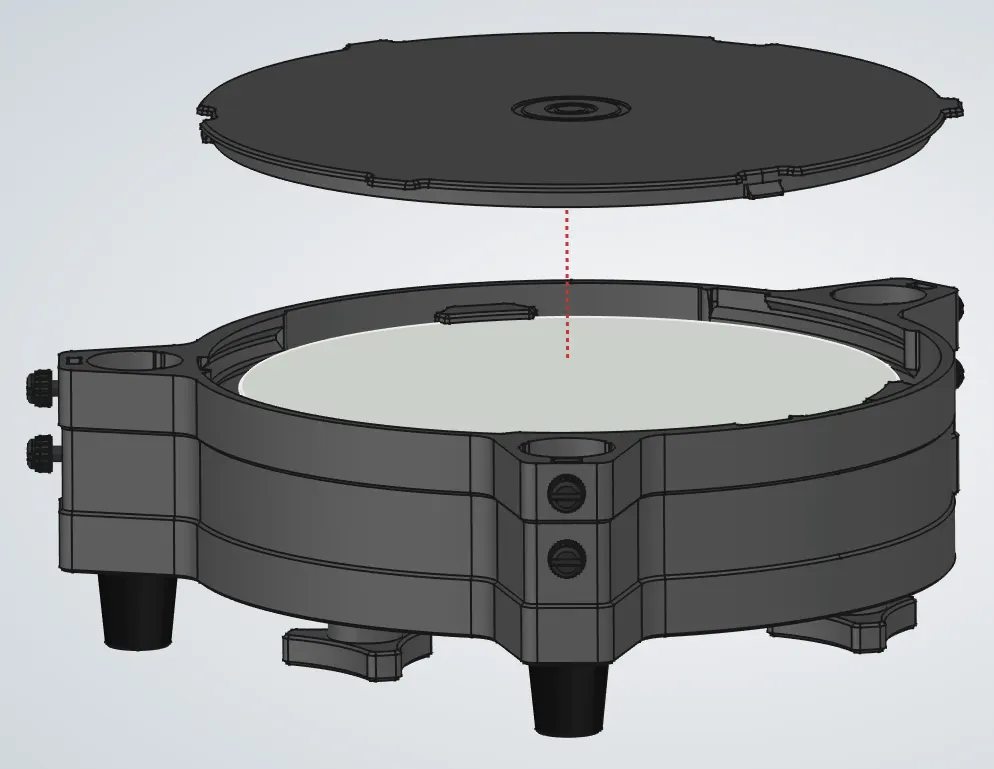
The Bottom Assembly

Primary Cell Tab (x3)

PartQty
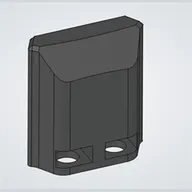
Primary cell tab1Primary cell tab thumbnail
M4 nut2M4 nut thumbnail
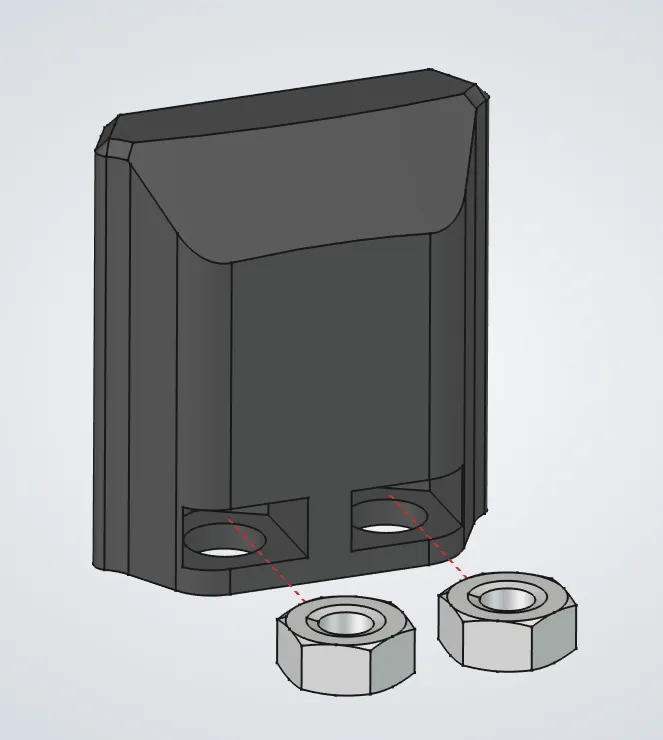
Primary Cell Tab (x3) assembly
  1. 1.Insert the two M4 nuts into the pockets at the bottom of the tab.
  2. 2.Press the nuts fully into place so they sit flush.
  3. 3.Repeat for all three primary cell tabs.

Primary Cell

PartQty
Primary cell1Primary cell thumbnail
M6x35 hex head screw3M6x35 hex head screw thumbnail
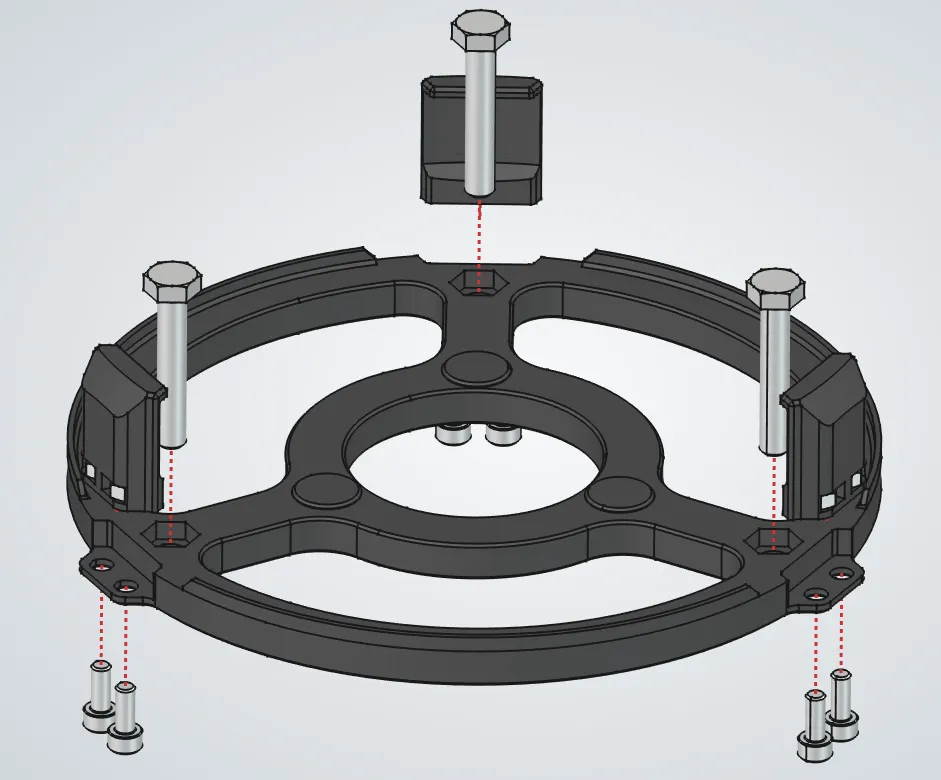
Primary cell tab assembly3Primary cell tab assembly thumbnail
M4x10 socket head screw6M4x10 socket head screw thumbnail
Primary Cell assembly
  1. 1.Thread two M4 nuts onto the tab just enough to hold it in place. Thread them just enough so the screws will not fall off, but keep plenty of space for the tab to pivot.
  2. 2.Repeat for the remaining tabs.
  3. 3.Place the three hex screws into their recesses.

Bottom Assembly

PartQty
Telescope bottom1Telescope bottom thumbnail
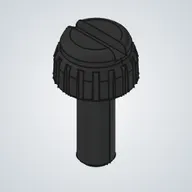
Primary cell knob3Primary cell knob thumbnail
Rubber feet3Rubber feet thumbnail
M4x20 socket head screw3M4x20 socket head screw thumbnail
M4 nut9M4 nut thumbnail
M6 nut3M6 nut thumbnail
M4x10 thumbscrew6M4x10 thumbscrew thumbnail
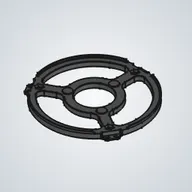
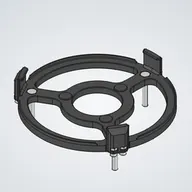
Primary cell assembly1Primary cell assembly thumbnail
Spring 1.2mm3Spring 1.2mm thumbnail
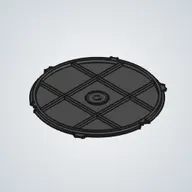
Telescope bottom lid1Telescope bottom lid thumbnail
Primary mirror1Primary mirror thumbnail
PartQty
Telescope bottom1Telescope bottom thumbnail
Primary cell knob3Primary cell knob thumbnail
Rubber feet3Rubber feet thumbnail
M4x20 socket head screw3M4x20 socket head screw thumbnail
M4 nut9M4 nut thumbnail
M6 nut3M6 nut thumbnail
PartQty
M4x10 thumbscrew6M4x10 thumbscrew thumbnail
Primary cell assembly1Primary cell assembly thumbnail
Spring 1.2mm3Spring 1.2mm thumbnail
Telescope bottom lid1Telescope bottom lid thumbnail
Primary mirror1Primary mirror thumbnail
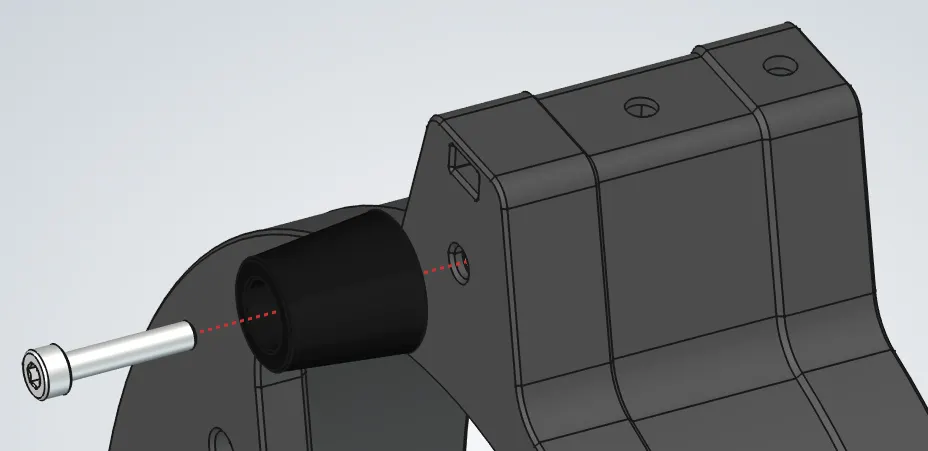
1Bottom Assembly assembly
2Bottom Assembly assembly
3Bottom Assembly assembly
4Bottom Assembly assembly
5Bottom Assembly assembly
6Bottom Assembly assembly
7Bottom Assembly assembly
8Bottom Assembly assembly
9Bottom Assembly assembly
10Bottom Assembly assembly
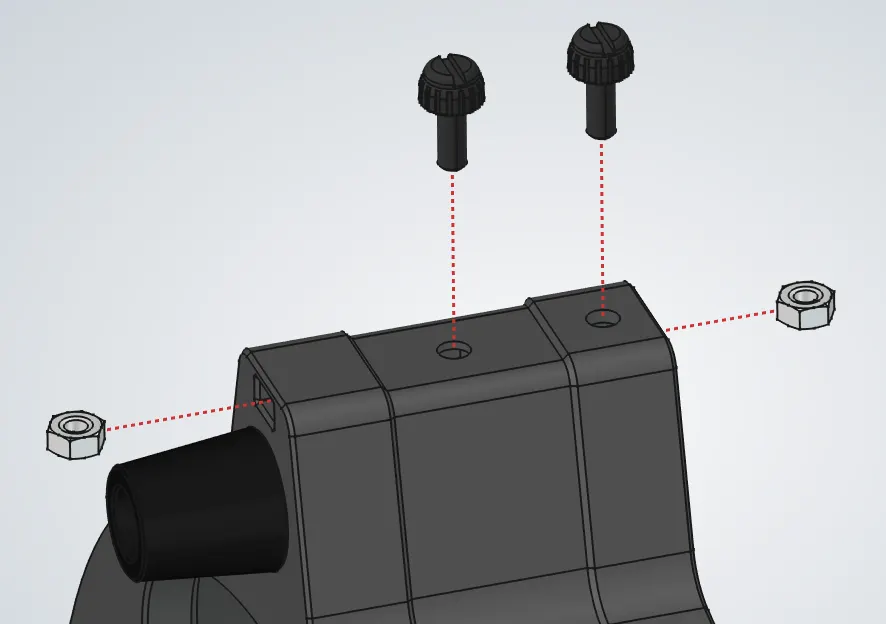
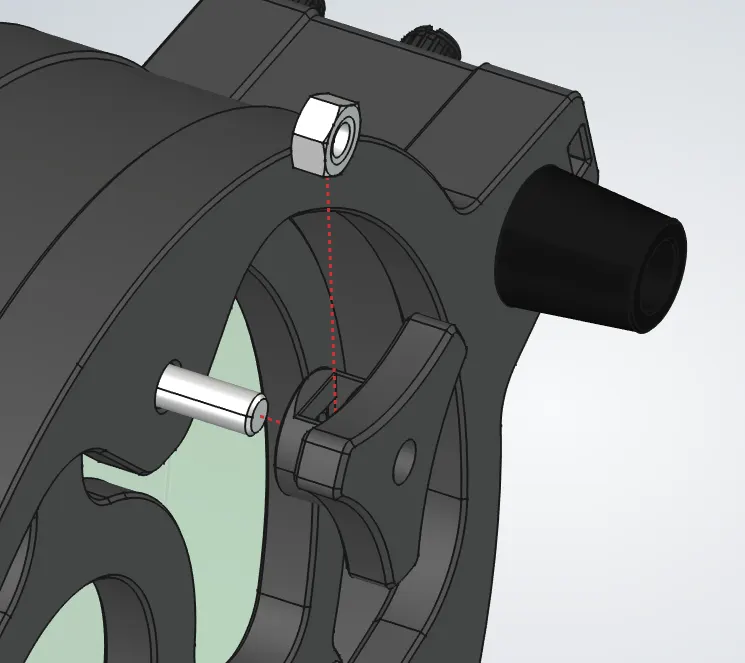
  1. 1.From above, insert an M4 nut into its pocket in one of the tube openings.
  1. 2.From below, attach a rubber foot with a long screw. Repeat for the other two feet.
  1. 3.Insert the two nuts and screws into their pockets in the tube slot. Repeat for all three sides.
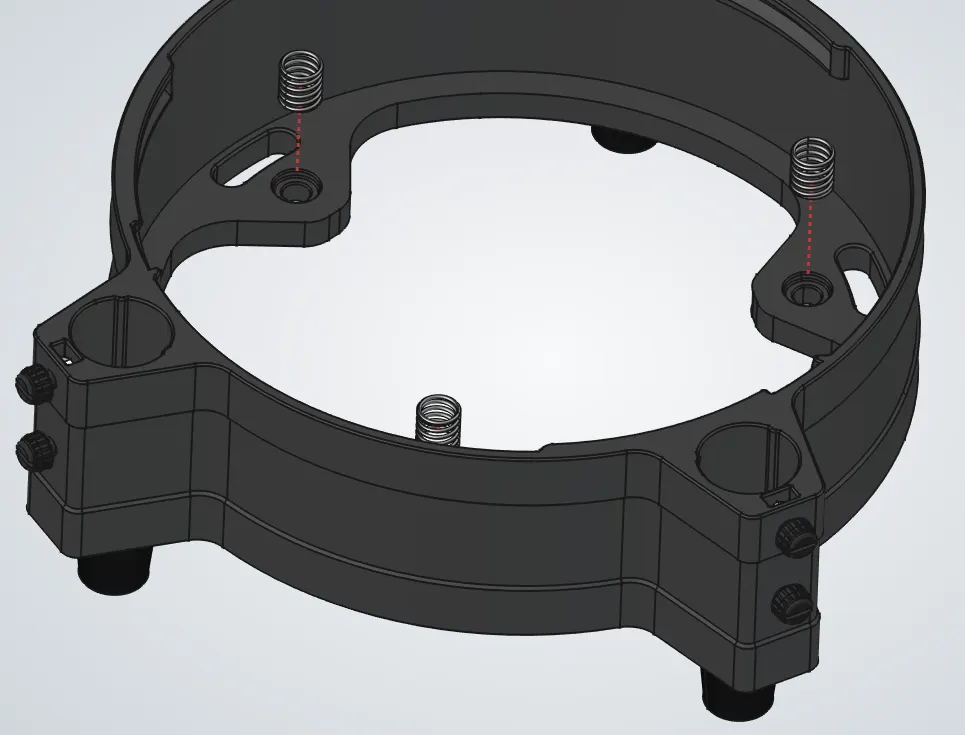
  1. 4.Set the springs into the primary cell support points.
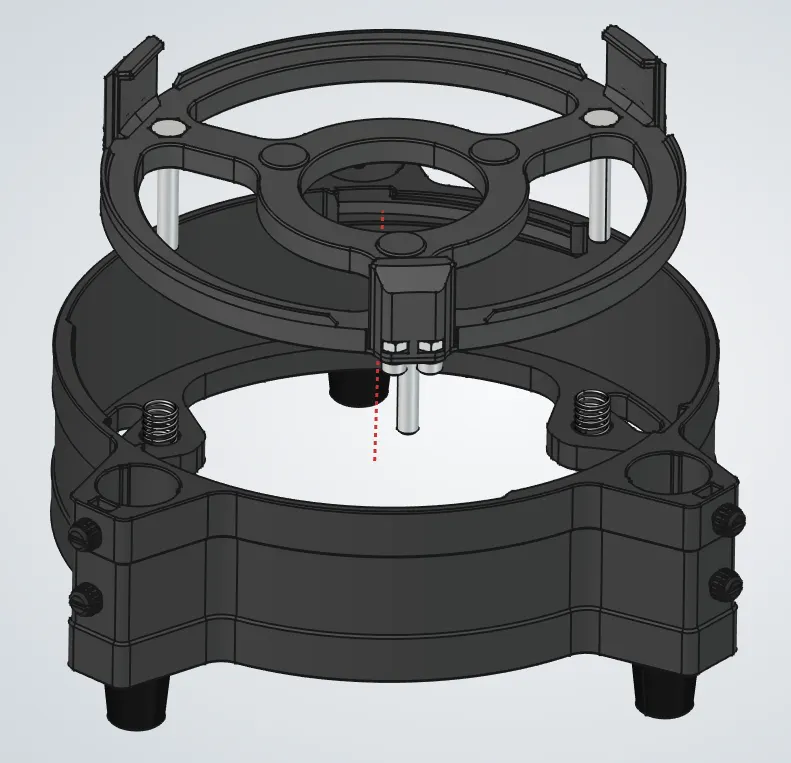
  1. 5.Lower the primary cell so the hex screws pass through the springs, then rest it on the springs.
  1. 6.Install the knobs.
    1. a.Press down on the primary cell until the screw protrudes from the other side.
    2. b.Thread the knobs into place using M6 nuts.
    3. c.Repeat for all three knobs.
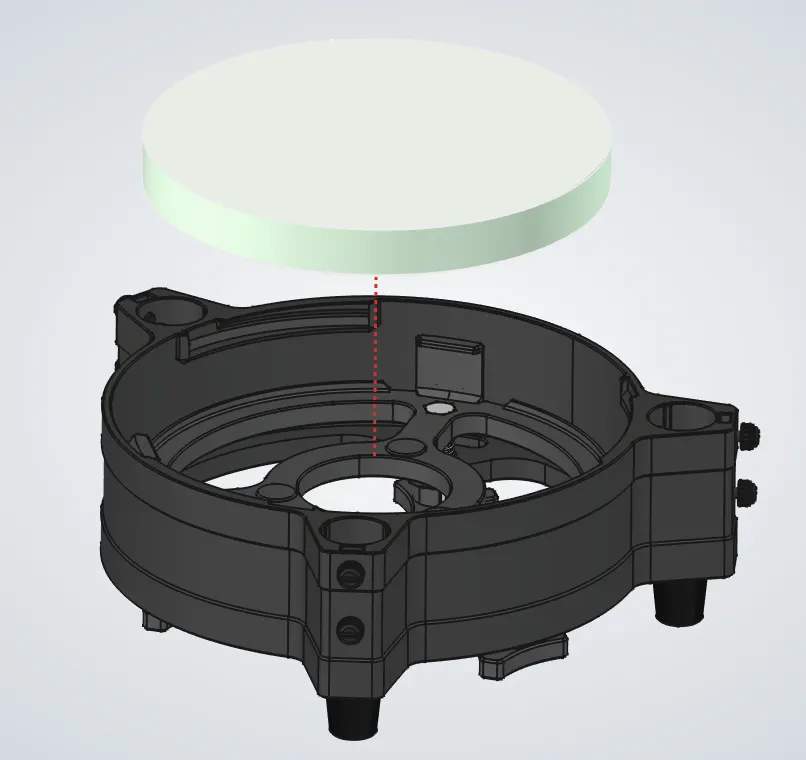
  1. 7.Install the mirror.
    1. a.Single-use gloves are recommended for this step to avoid fingerprints on the mirror. With or without gloves, avoid touching the mirror surface.
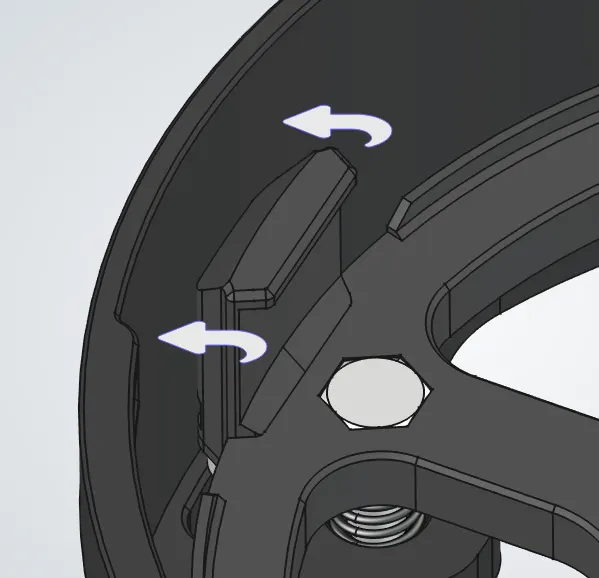
    2. b.Pivot the tabs to the side so the mirror can drop into place.
    3. c.Lower the mirror into the cell.
    4. d.Pivot the tabs back over the mirror.
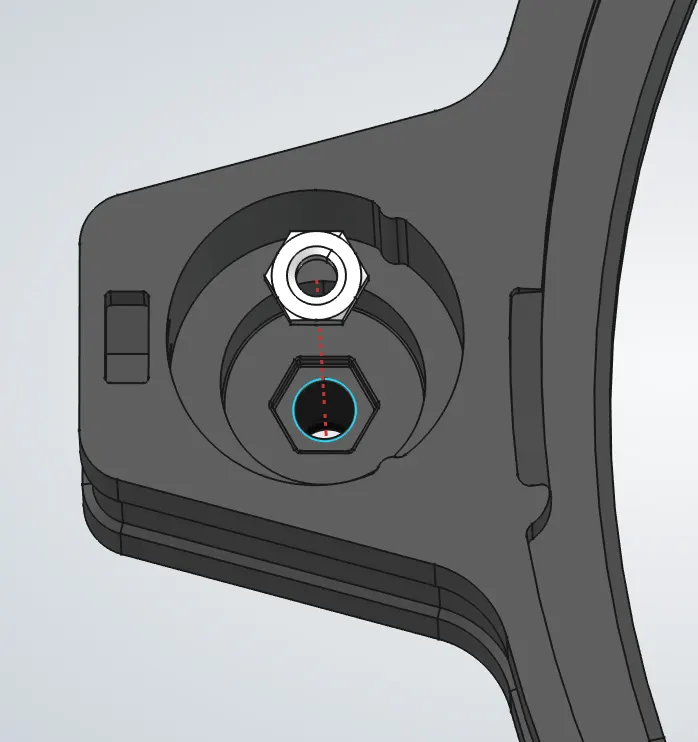
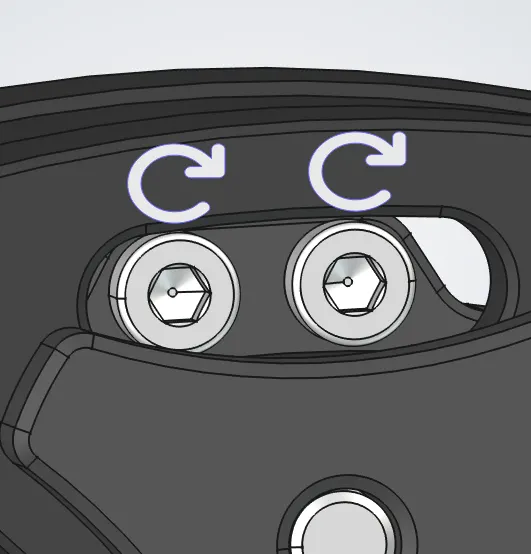
    5. e.From the back, tighten the screws shown in image 9. Press each tab against the mirror while tightening to make sure the mirror is seated correctly.
    6. f.You may place the entire assembly on its side to do this, but keep the tab you are holding on top so the mirror cannot fall out.
    7. g.Repeat for all three tabs.
    8. h.The mirror should be able to move slightly. This is normal and prevents it from being under stress. The tabs are only there to keep it from falling out.
  1. 8.Place the lid over the mirror opening and rotate to lock it in place.